I loooove homemade playdough. It is seriously the best and the store bought playdough can’t hold a candle to it. Truth. This playdough recipe I grew up with and it’s amazing! It’s so soft, smooth, squishy, not sticky at all and lasts so so long. Did you grow up with the storebought stuff or homemade? I actually never had any idea what that you could even buy playdough from the store until I was much older lol! My mom just made it for us so I never thought you could actually go out and buy some. You know what though, comparing the two of them you just can’t beat the homemade stuff! It is so much easier to play with, doesn’t have any funky smells and it easy to clean up because it’s basically just flour and water.
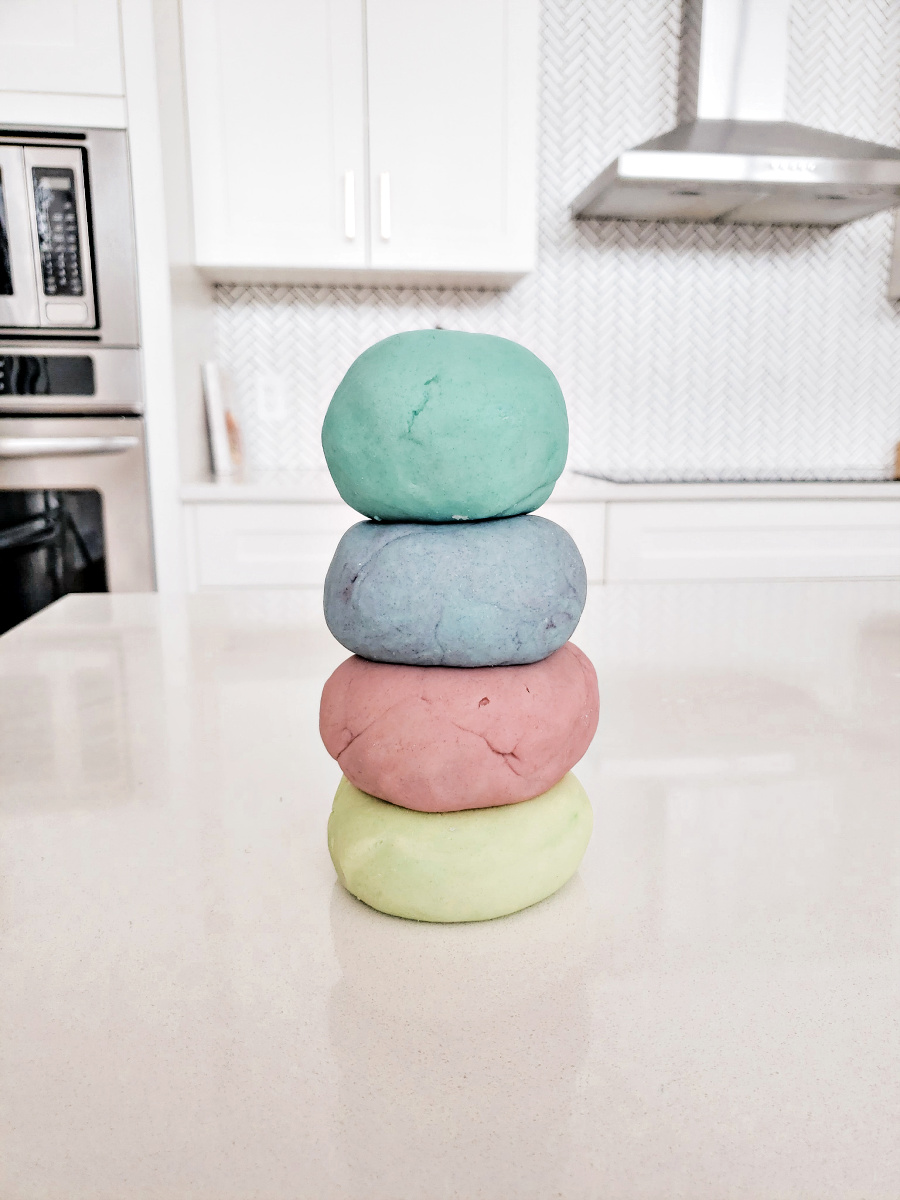
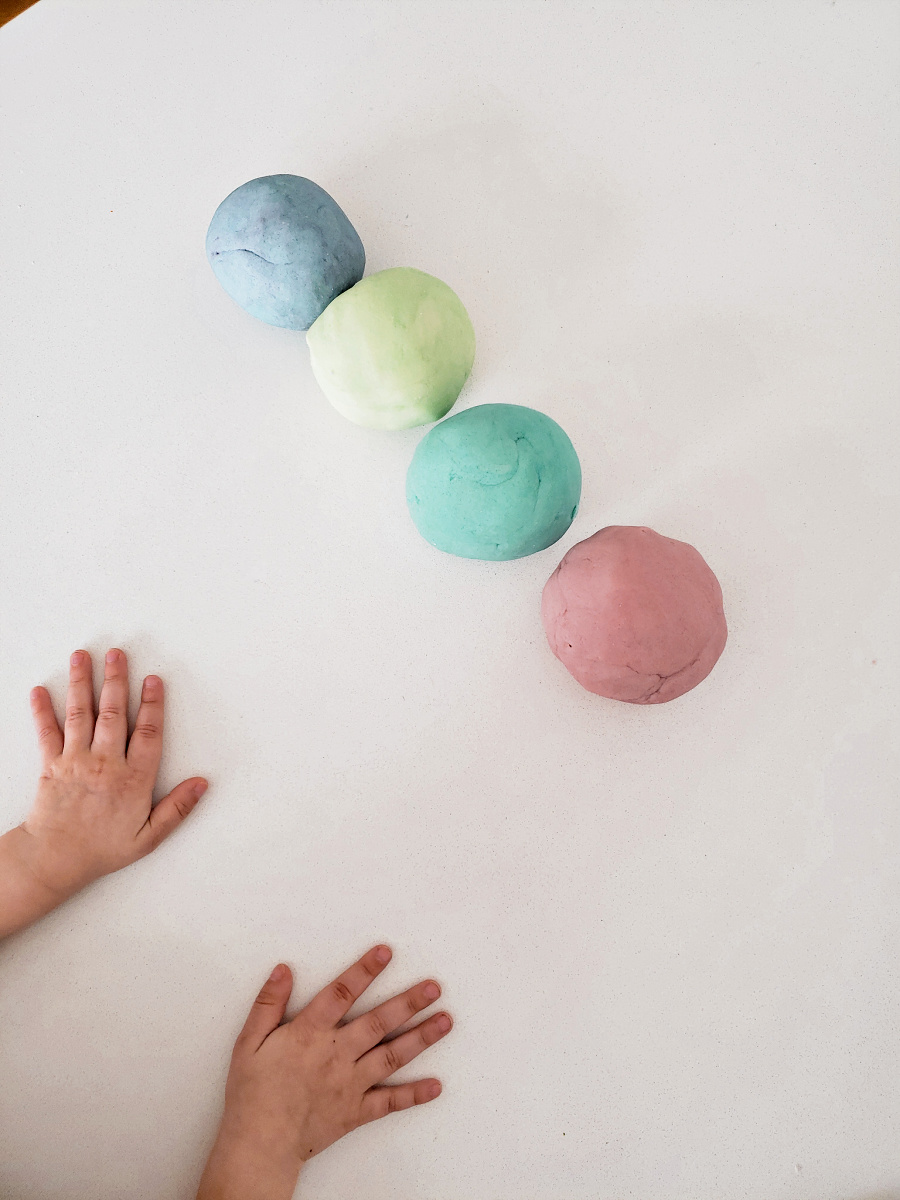
It takes a few minutes to make and this recipe makes enough for 4 people to play with (I usually divide it and make 4 different colours).
Here’s what you will need:
Homemade Playdough
- 2 cups all purpose flour
- 3/4 cup salt
- 4 tsp cream of tartar
- 2 cups of water
- 2 TB vegetable oil
- optional: food colouring, essential oil
- Mix dry ingredients together in a saucepan. Add water and oil (and if you are making the playdough one solid colour, add the food colouring in as well).
- Cook over medium heat, stirring constantly. It will start to stick together and thicken up.
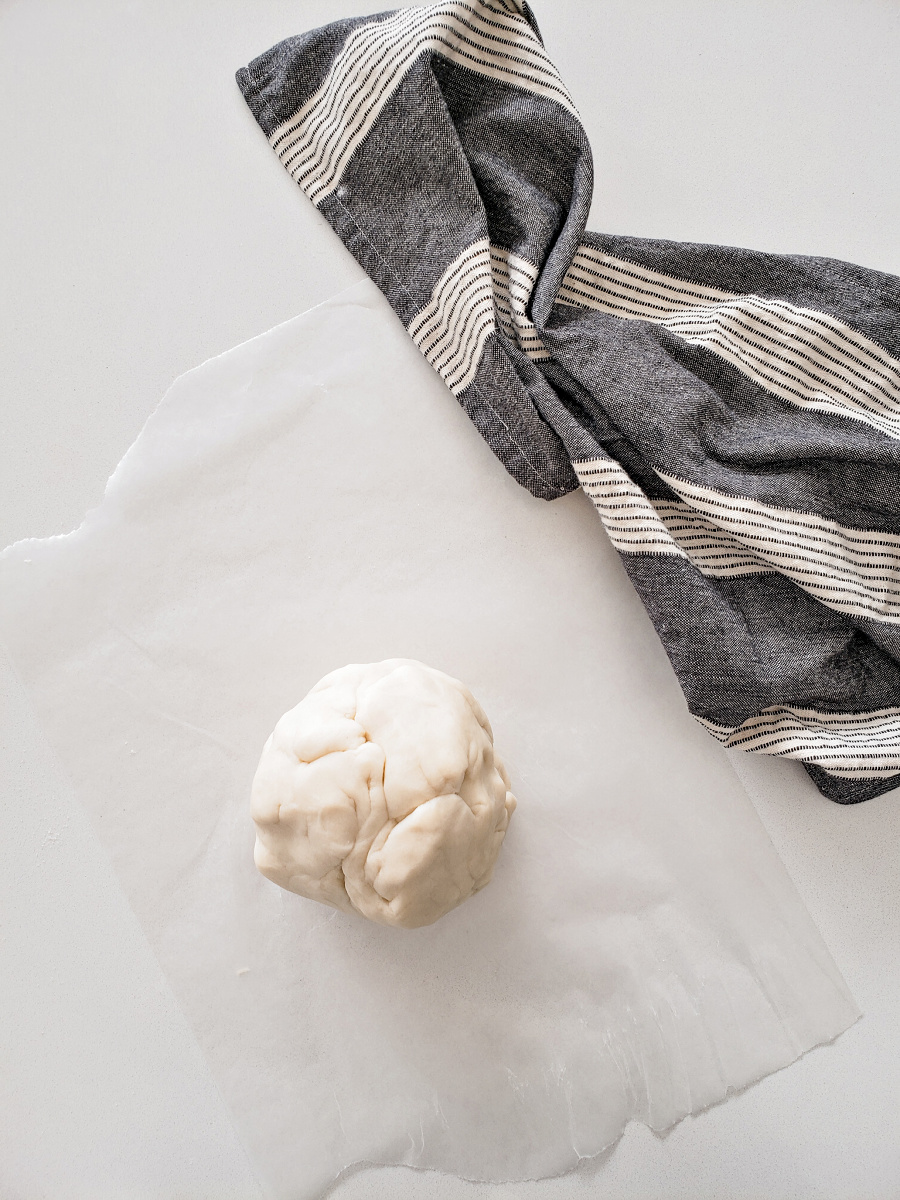
- Once the mixture forms a ball, remove it from the heat and knead until smooth. It might be hot here so you can let it cool for a minute before kneading. **
- Play with immediately! Store in an air tight container and it will last months (and months, I swear)!
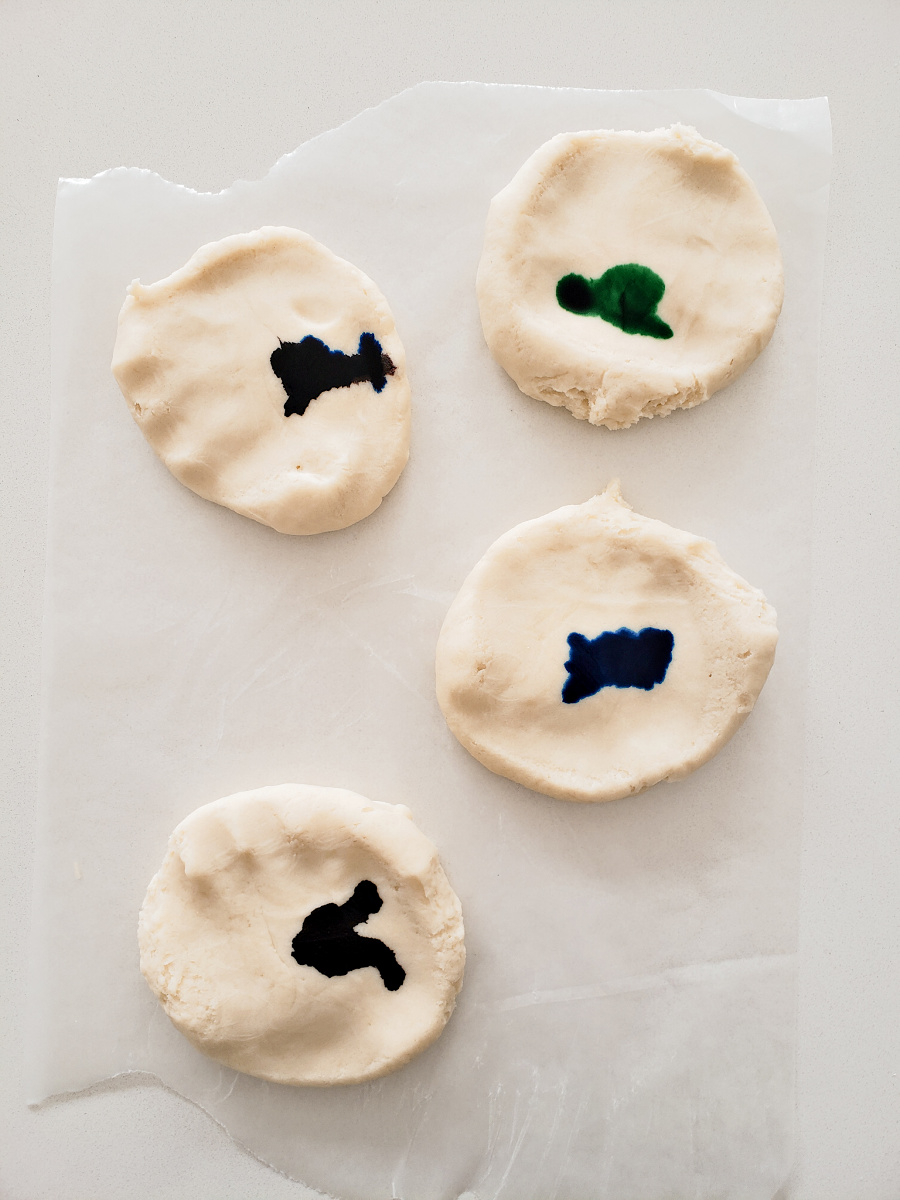
** After I have finished kneading the dough, I usually divide into 3 or 4 balls and add different food colouring to each ball. Be careful when mixing in so you don’t stain your countertop and hands!
If you want to add some scent to the playdough, add in a few drops of lavender or lemon oil, or peppermint would be great too! You don’t need a lot!
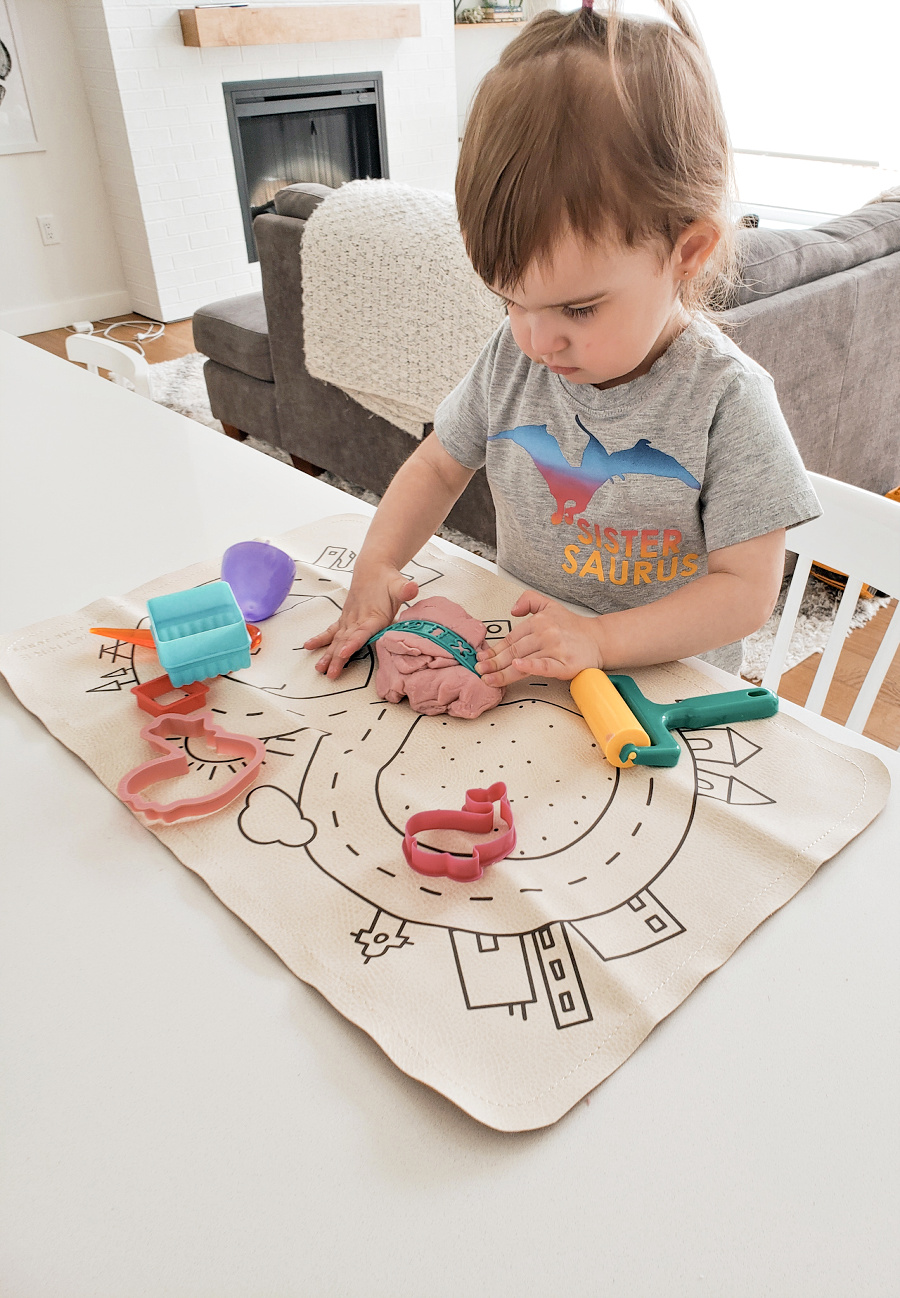
Even more fun with some tools and a little race car mat… you could add in whatever you wanted for play time! I recommend starting with just the play dough and some rolling pins or cookie cutters, then slowly adding in more toys to extend the length of play 🙂
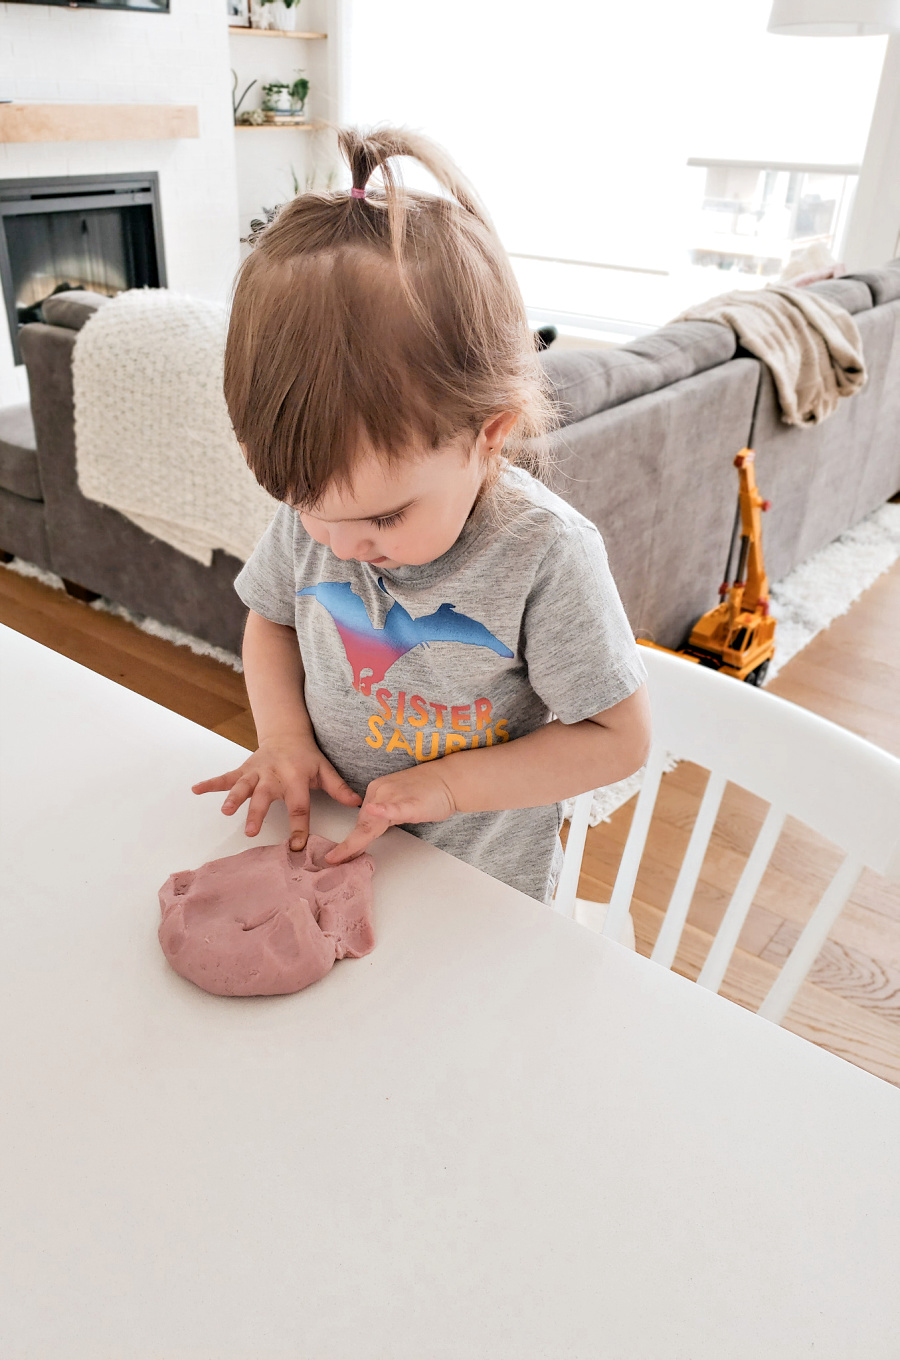
I hope you love this playdough recipe as much as I do. It’s actually the best and it lasts for so long. It will leave a slight residue on your hands when you’re done playing with it (just the salt and flour) but it washes right off. This would be great safe play for little toddlers who are still wanting to put everything in their mouth since this is a non-toxic playdough. It doesn’t taste great but my little girl still tried to eat it all the time when she was younger lol, so just keep an eye on really young kiddos.
xx Megan
Pin For Later!

Interested in more toddler craft ideas?
// (I have this recipe plus lots of other play ideas in a ‘Toddler Play” highlight tab on my IG if you wanted some more easy ideas!)
// Also I shared a cute little greenhouse for toddler’s here (these are super old posts so forgive me LOL!)
// Check out this adorable toddler friendly watercolour craft!