
Well friends! It’s the final week of this renovation challenge. Last week I shared the to do list we had left (that was a mile long) and that I was over here lowkey panicking plus I’m 7 months pregnant so this wasn’t an easy feat lol. I have to say with all of the finishing touches complete the space looks absolutely FAB and I could not be happier with how everything turned out!
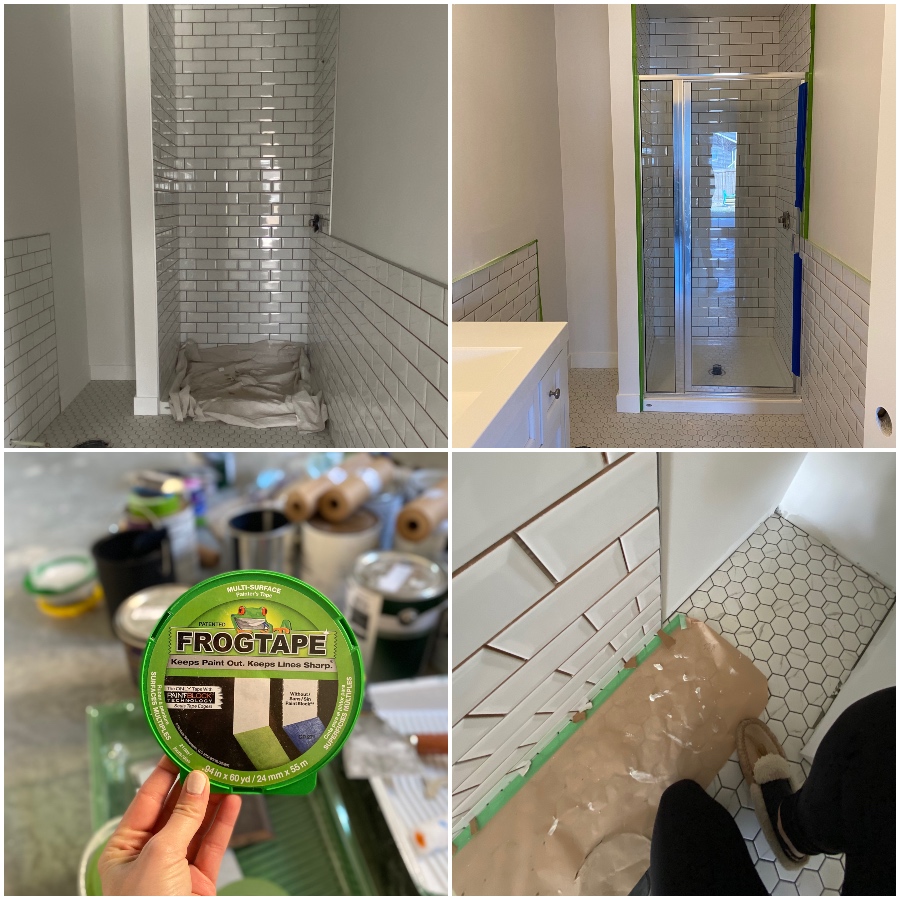
I want to say thank you so much to Frog Tape, Sinkology and Jeffrey Court Tile for sponsoring this super fun challenge! This is the first space I’ve ever designed from scratch and it came together exactly like I had imagined! The tile is seriously the absolute cherry on top and it looks soooo good!
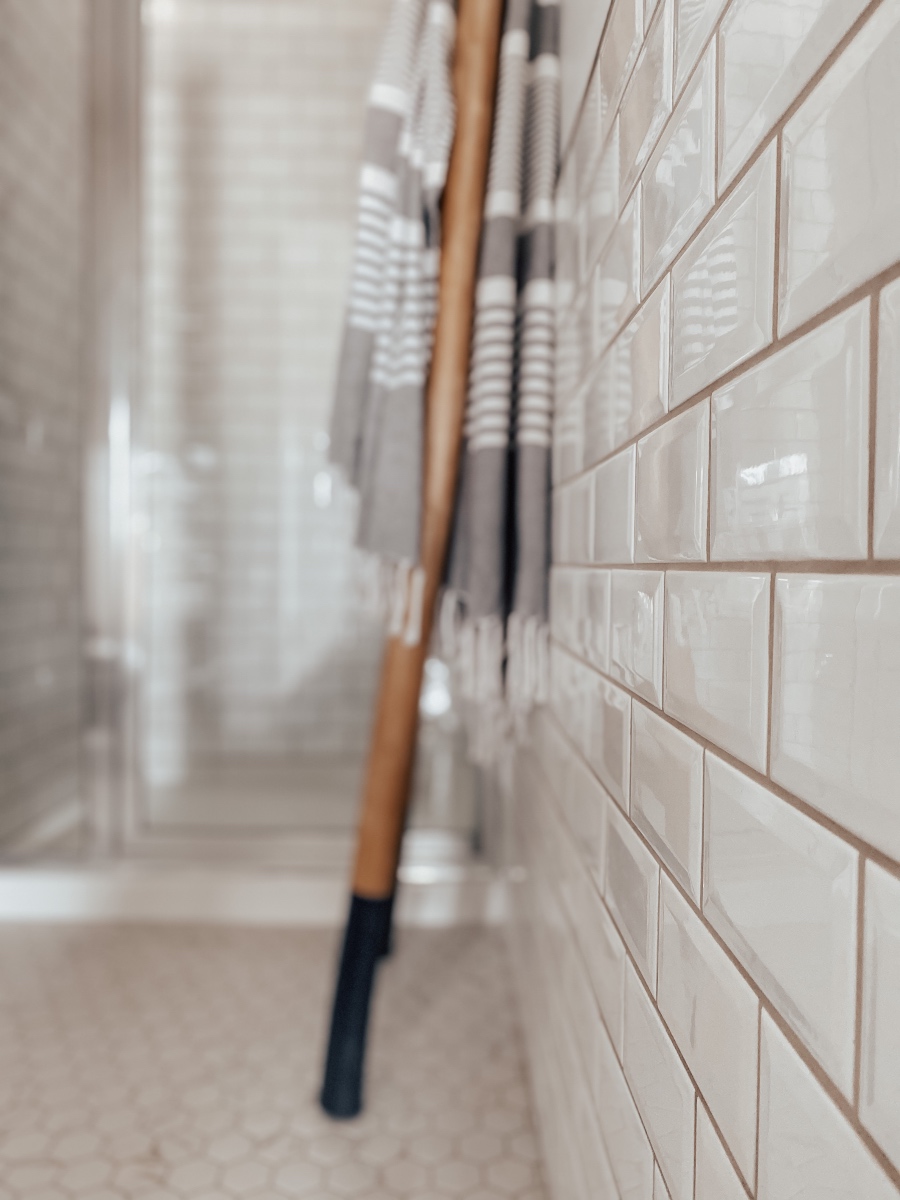
*here’s a sneak peek*
So, did we finish the renovation in 6 weeks?!
*sheds tear* Unfortunately, we didn’t finish the challenge on time. It was extremely stressful having so many elements out of our hands regarding the basement renovation. We were starting with literally nothing, no framing, nothing! So finishing our bathroom was tied into the basement completion we had planned.
The timeframe we were given for the renovation from our contractor included ample time for us to tile and include all the finishing touches in the bathroom on our end, however, as it happens things get delayed, product is out of stock, people don’t show up and so on and so forth. It was super disappointing to say the least, but regardless, I was so happy and just thrilled to be included in this makeover challenge and to have the opportunity to work with these amazing brands!
The busiest 2 weeks ever!
While this pregnant lady probably worked a *little* too hard finishing up the renovation (Kiel works shift work so he’s away 14 days at a time), I’m super happy with the end result and will be taking a rest month now lol. 7 months along is no joke! I think I’m going to book myself a prenatal massage hah! The last bit was interesting to say the least! It’s awesome seeing it come together though!
*squeezing my belly into this nook lol*
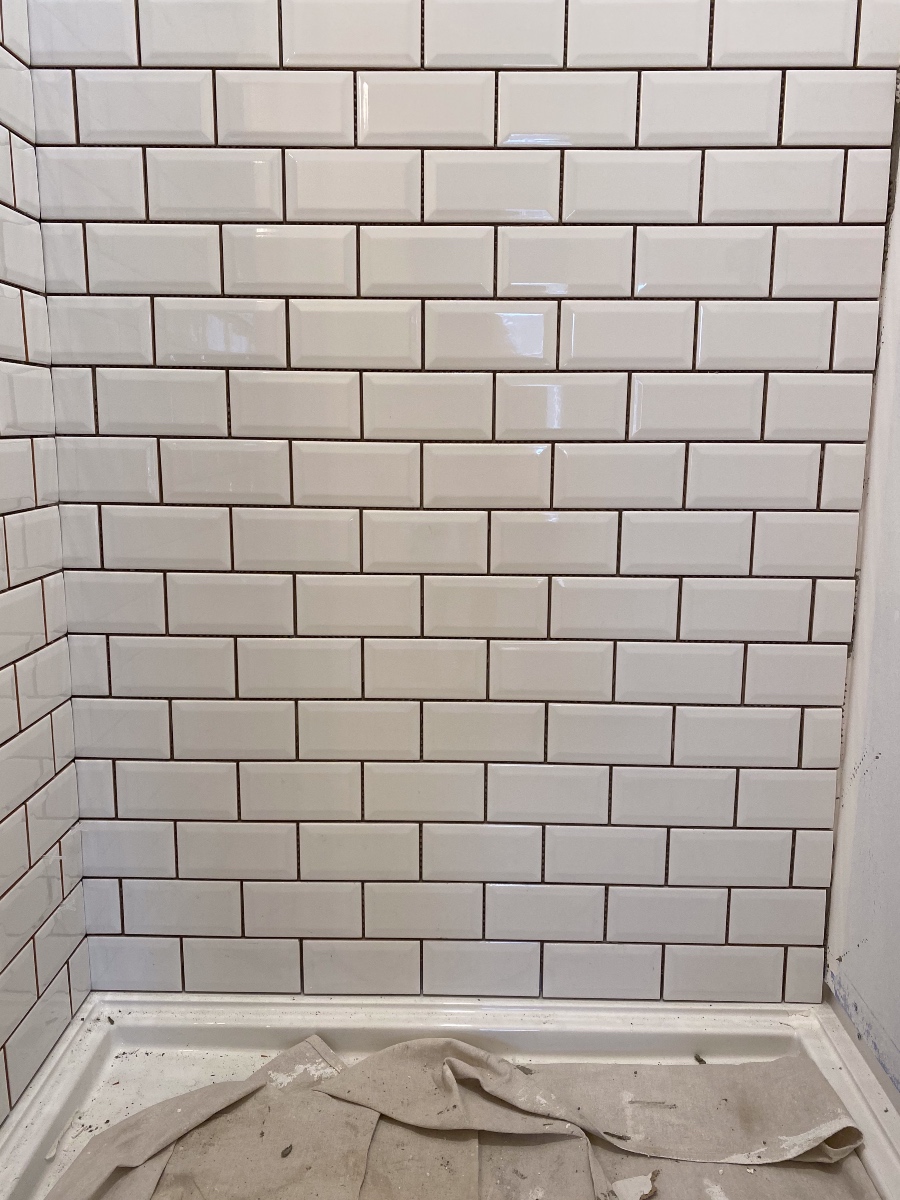
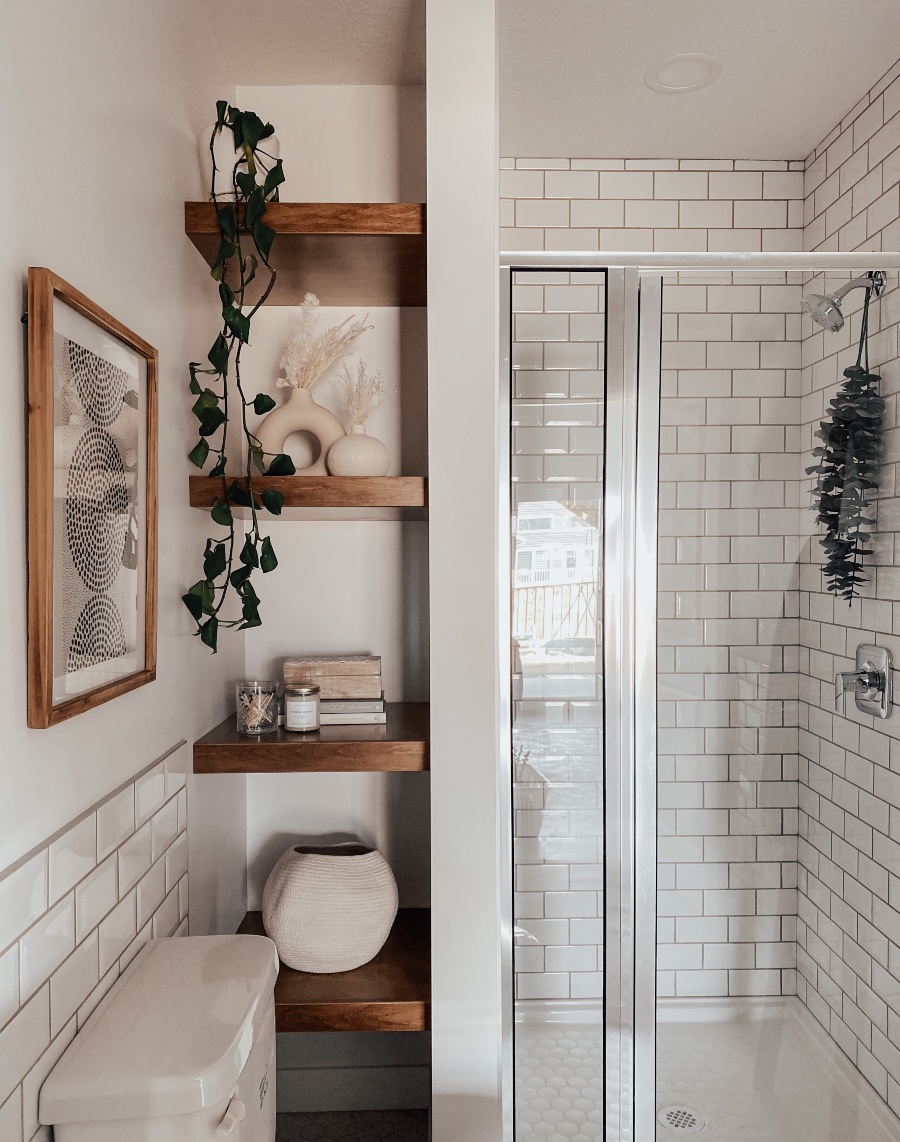
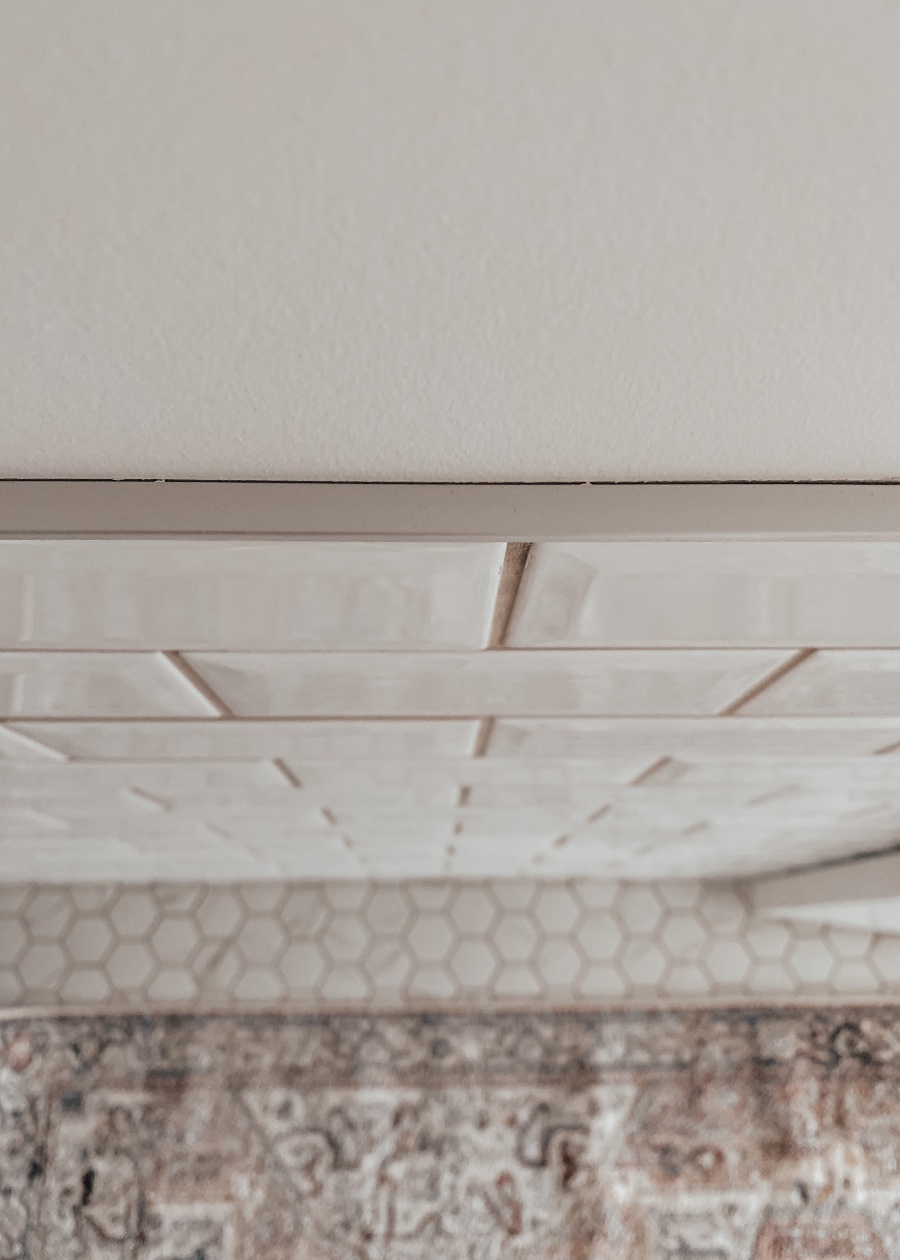
I had the tile in the shower go all the way up to the ceiling and for our built in shelving, I didn’t wrap the tile around. I thought it might look a little goofy and busy tbh.
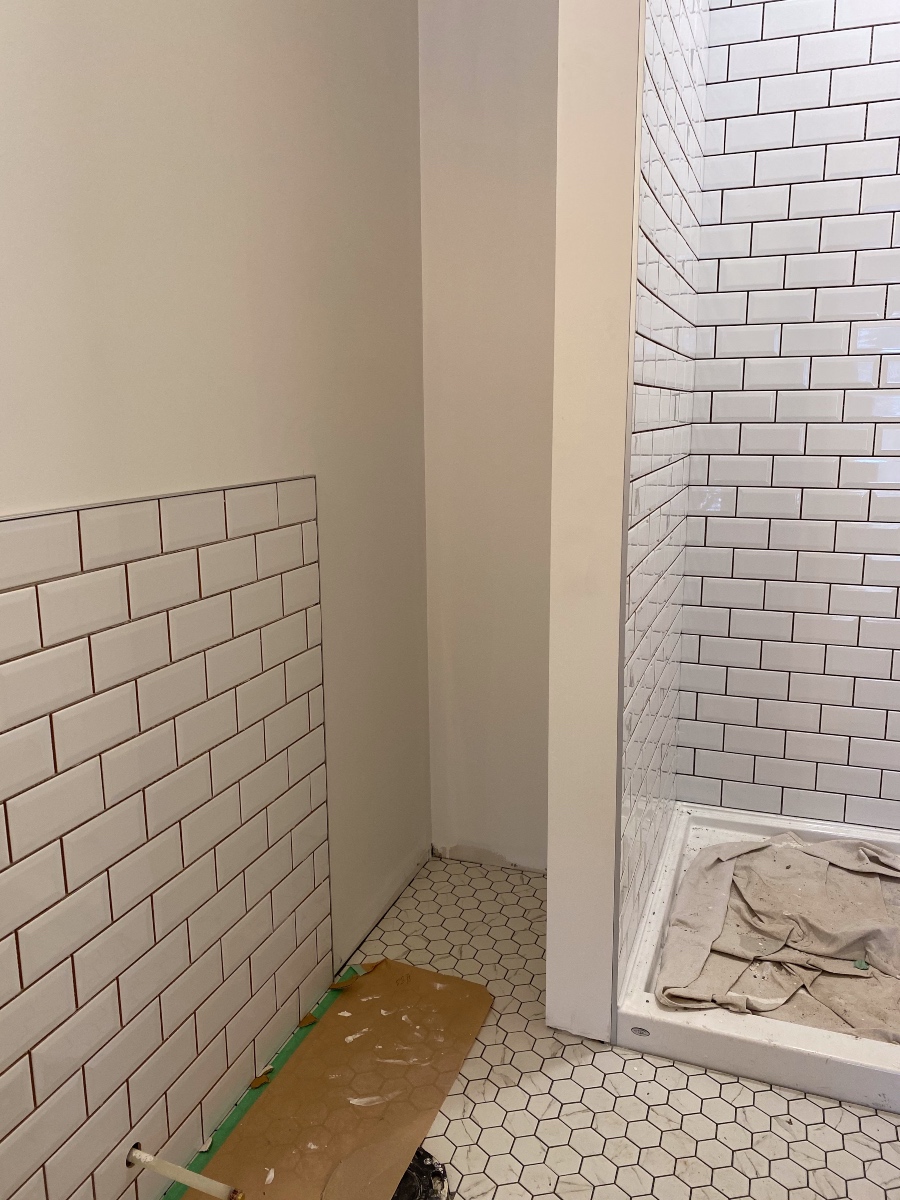
The shower was interesting. The measurements for our shower base meant that the tiling wouldn’t be perfectly even on both sides. We ended up going with it centered and doing a half cut tile on the side. Honestly, you don’t even notice once the tile is all put in but it took a long time for me to figure out which way I wanted the tile to go and trying to visualize the finished look lol. I don’t do well with big decisions like that spur of the moment!
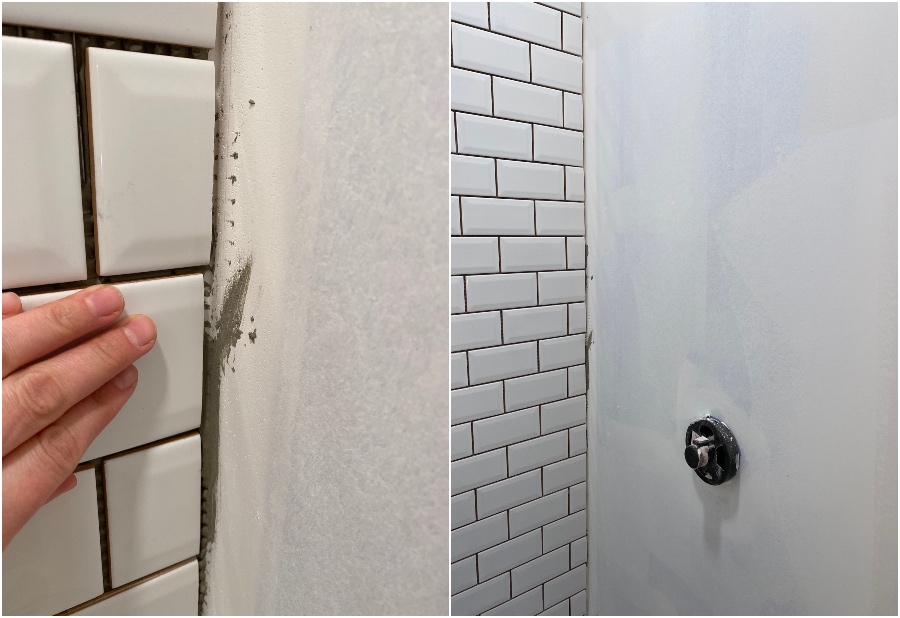
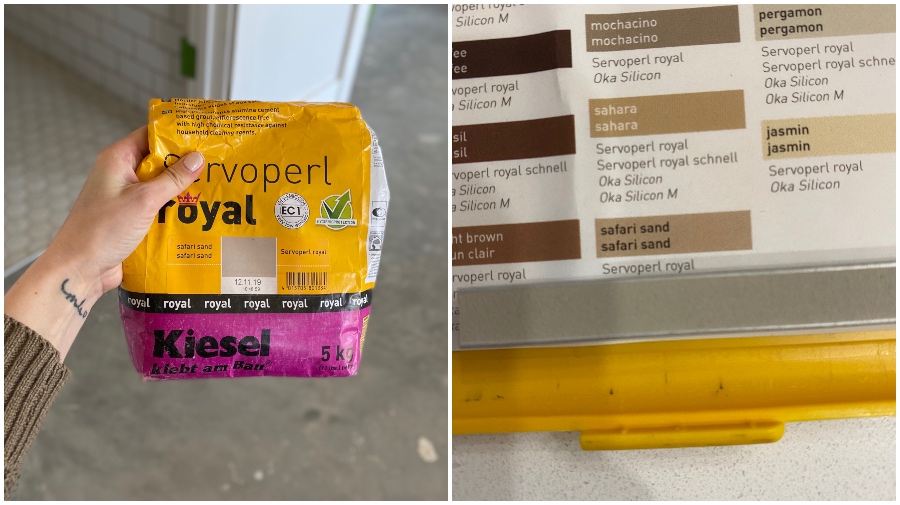
This is the grout I went with – I’m super happy with it and the colour turned out perfectly!
And because this is such a fun side by side shot – you can see the how the shelving and hardware make the space!
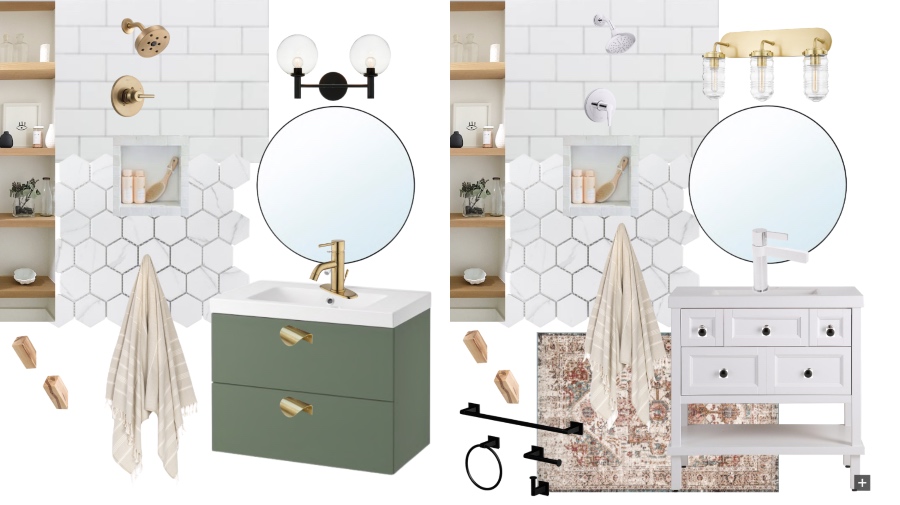
The design board that kicked it all off!
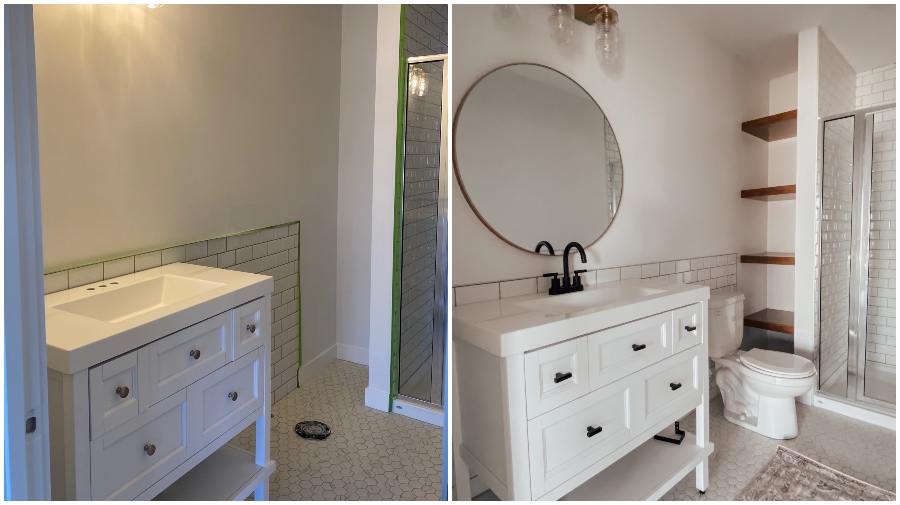
Who remembers the OG design board I shared back in Week One? I was originally thinking of a green vanity for a fun pop of colour, however, both Kiel and I ended up vetoing it. We ended up going with something a little more traditional with the design board on the right…
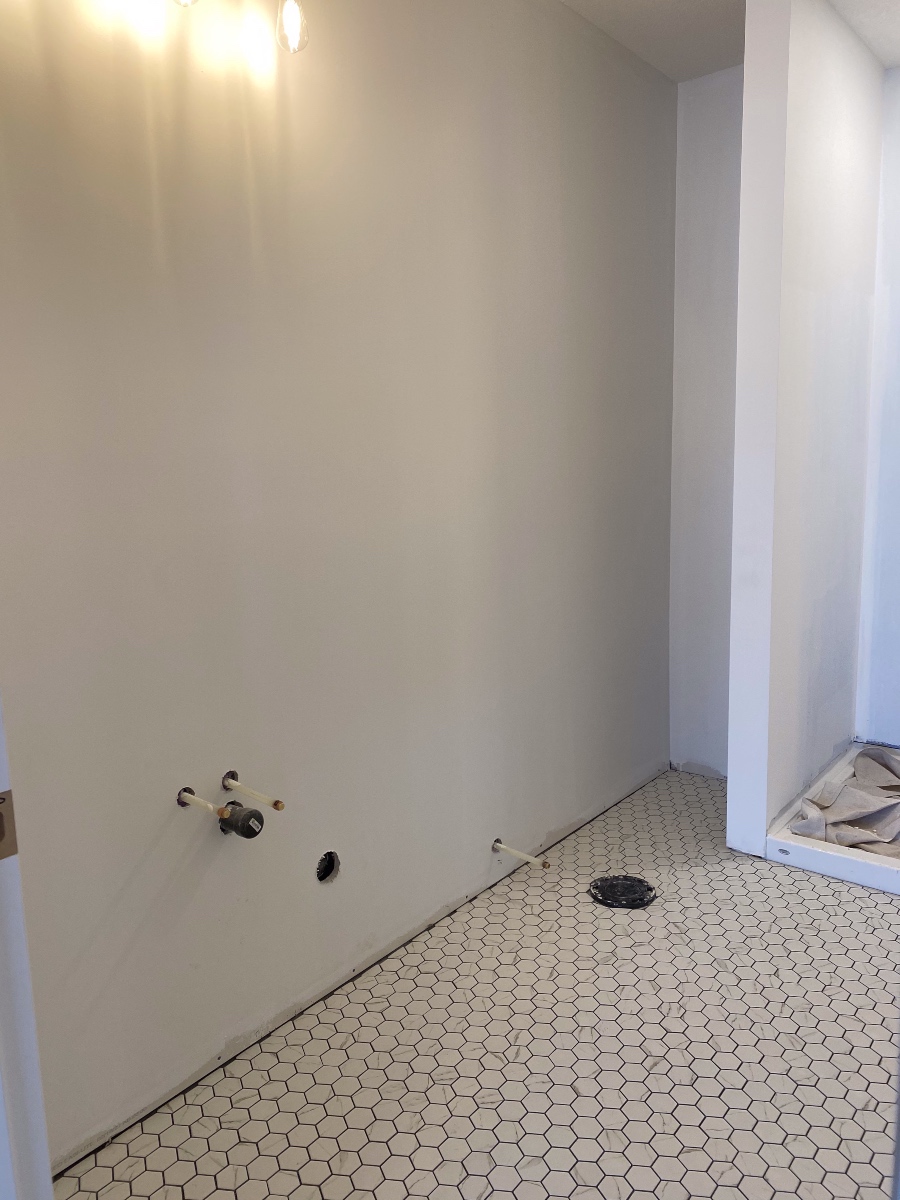
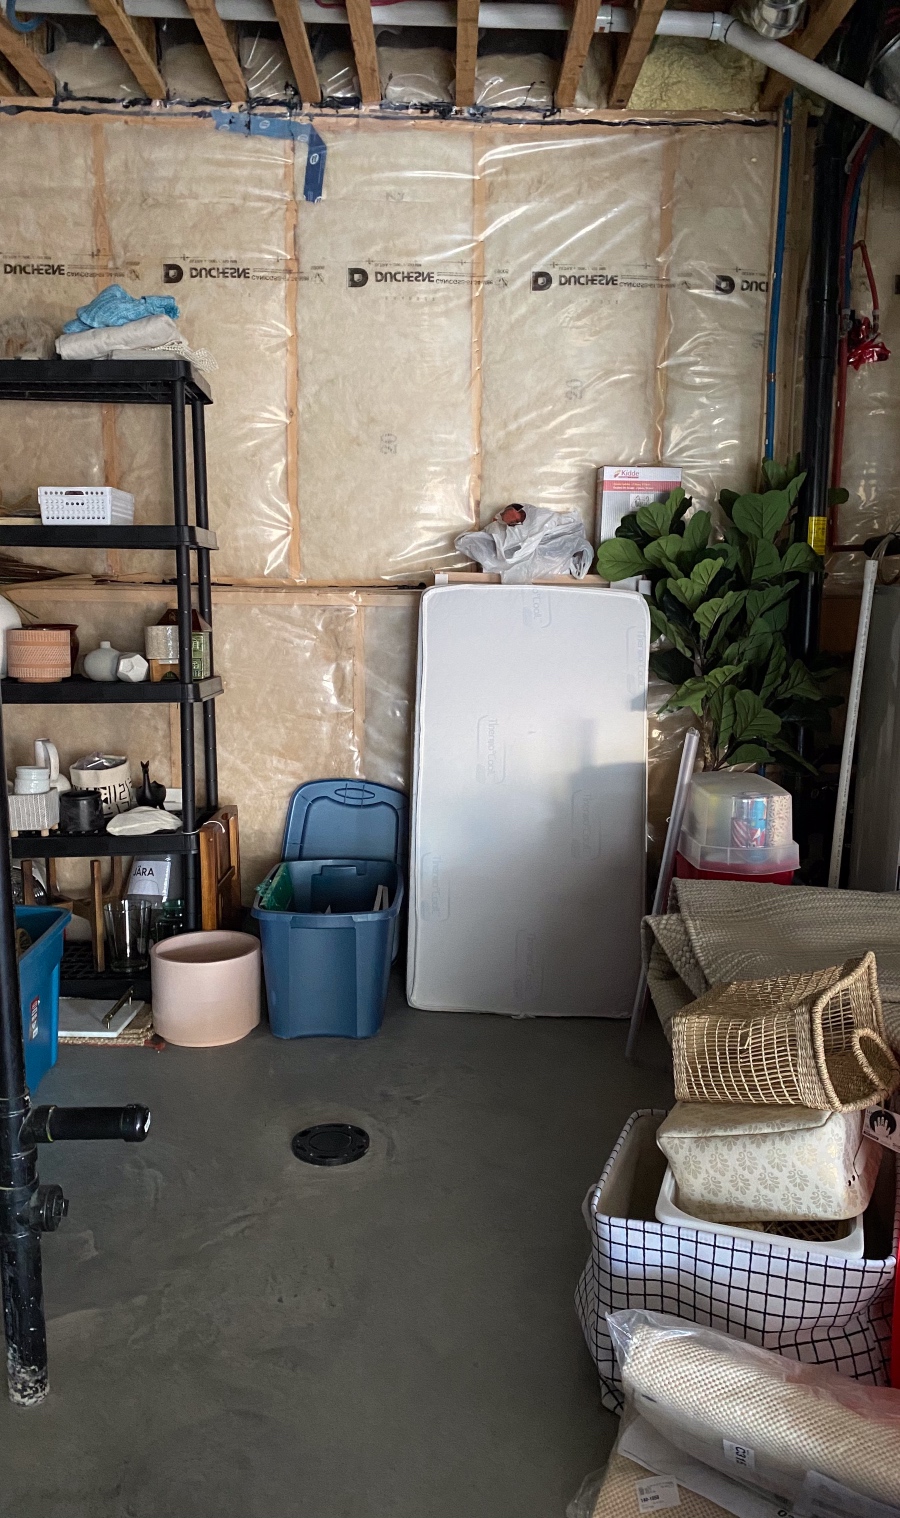
Of course, I still made some changes to the finished space! The basement when we first started was SCARY LOOKING y’all. Like, I cannot believe this is the same space compared to now! Here’s a little refresher photo for you of where we started!
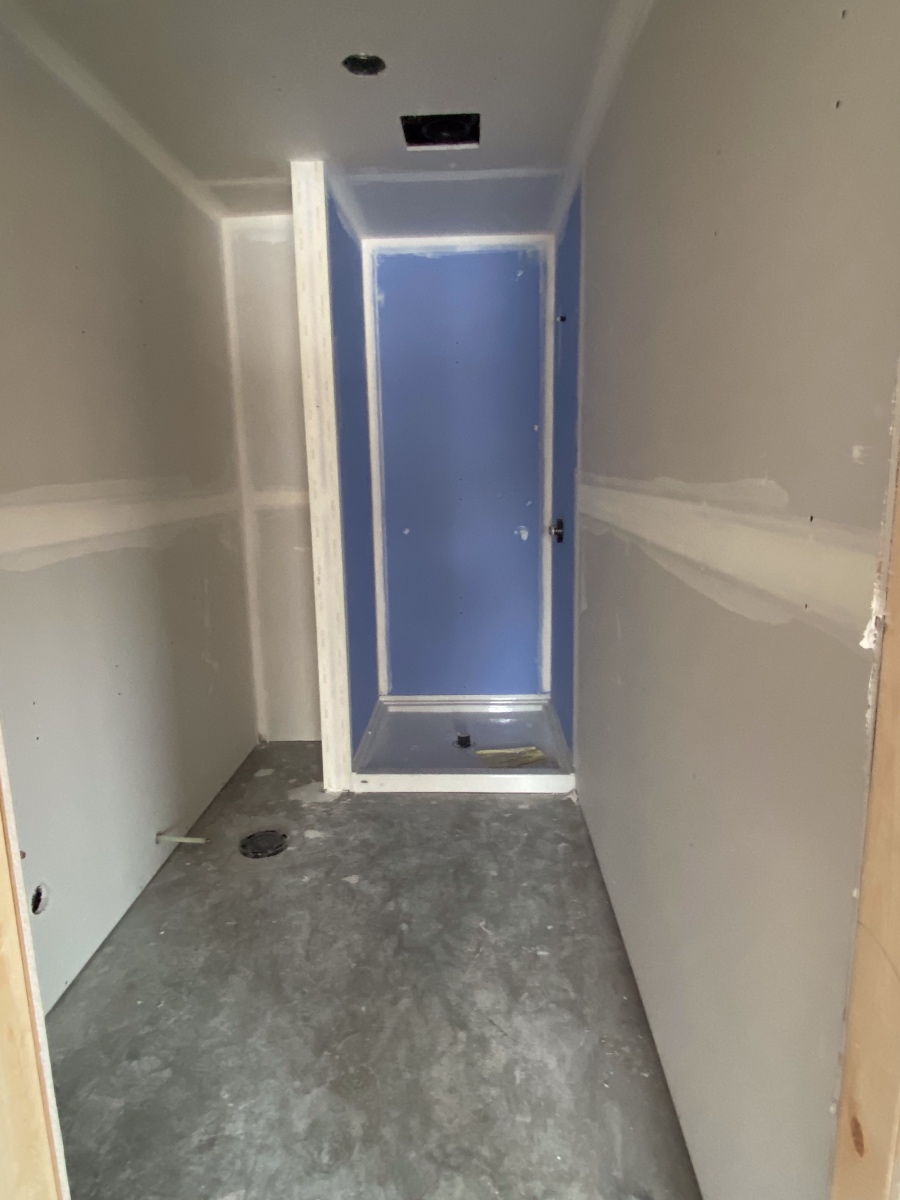
Once we framed and put up drywall in the room…
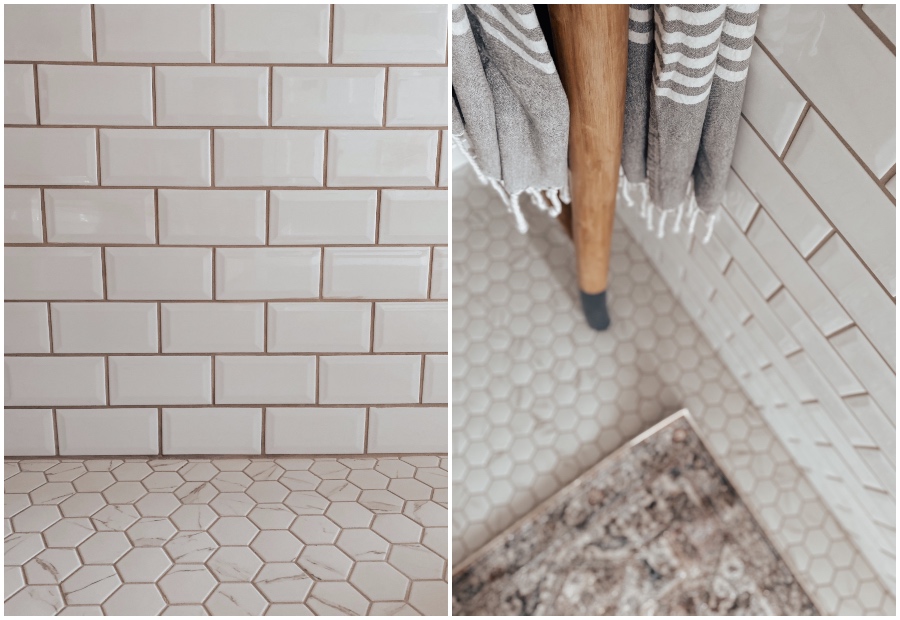
… and here’s the finished space! *drum roll please* I’m just in LOVE with the mix of small hexagon tile on the floor alongside the pretty beveled subway tiles!
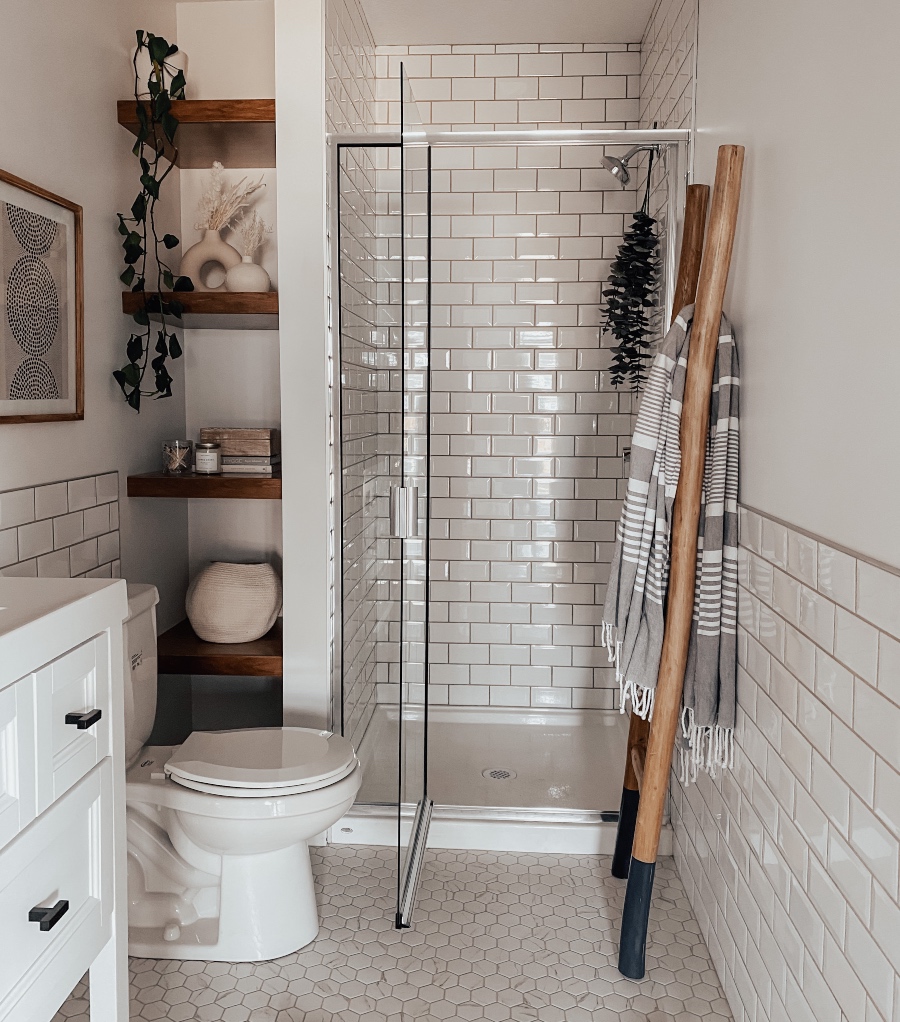


I went with a lighter, warmer grout and did the same colour for the flooring and walls/shower. Also note that we brought the subway tile all the way to the ceiling in the shower. It looks so luxe!
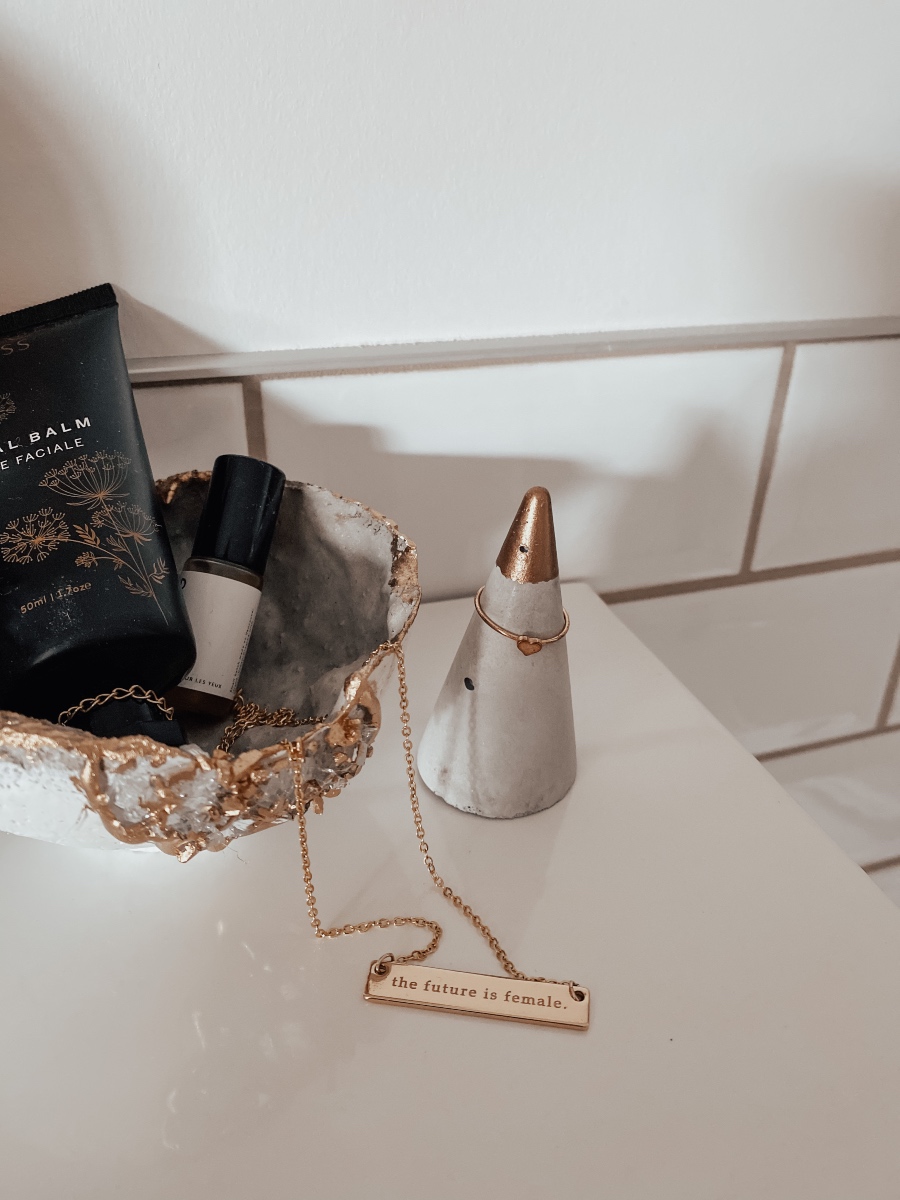
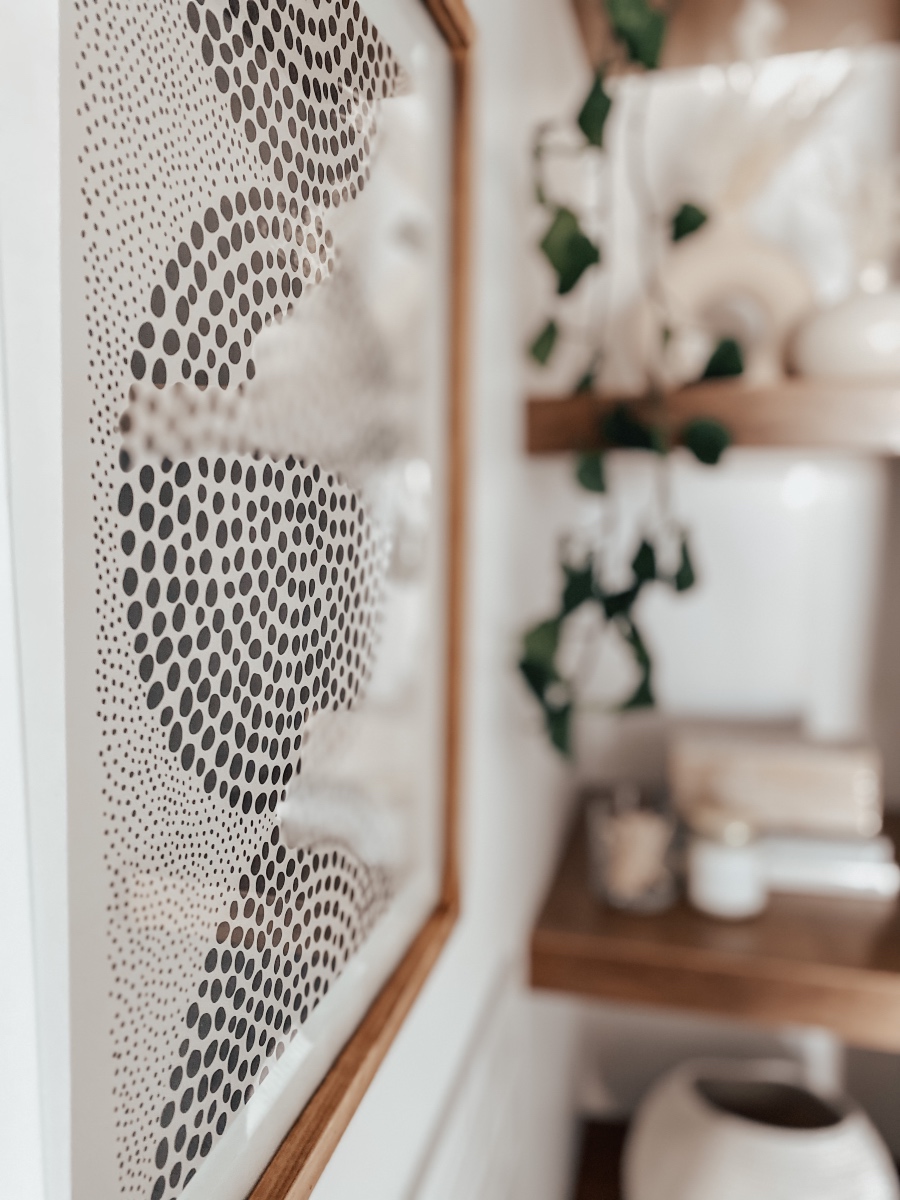
It’s all in the details…
Styling these shelves was so much fun, I’m obsessed with how they turned out. They were a labour of love for sure though! The stain we chose is a custom blend we used on our mantle upstairs as well. It’s the perfect light stain with a touch of warmth. It gives me scandi boho vibes.
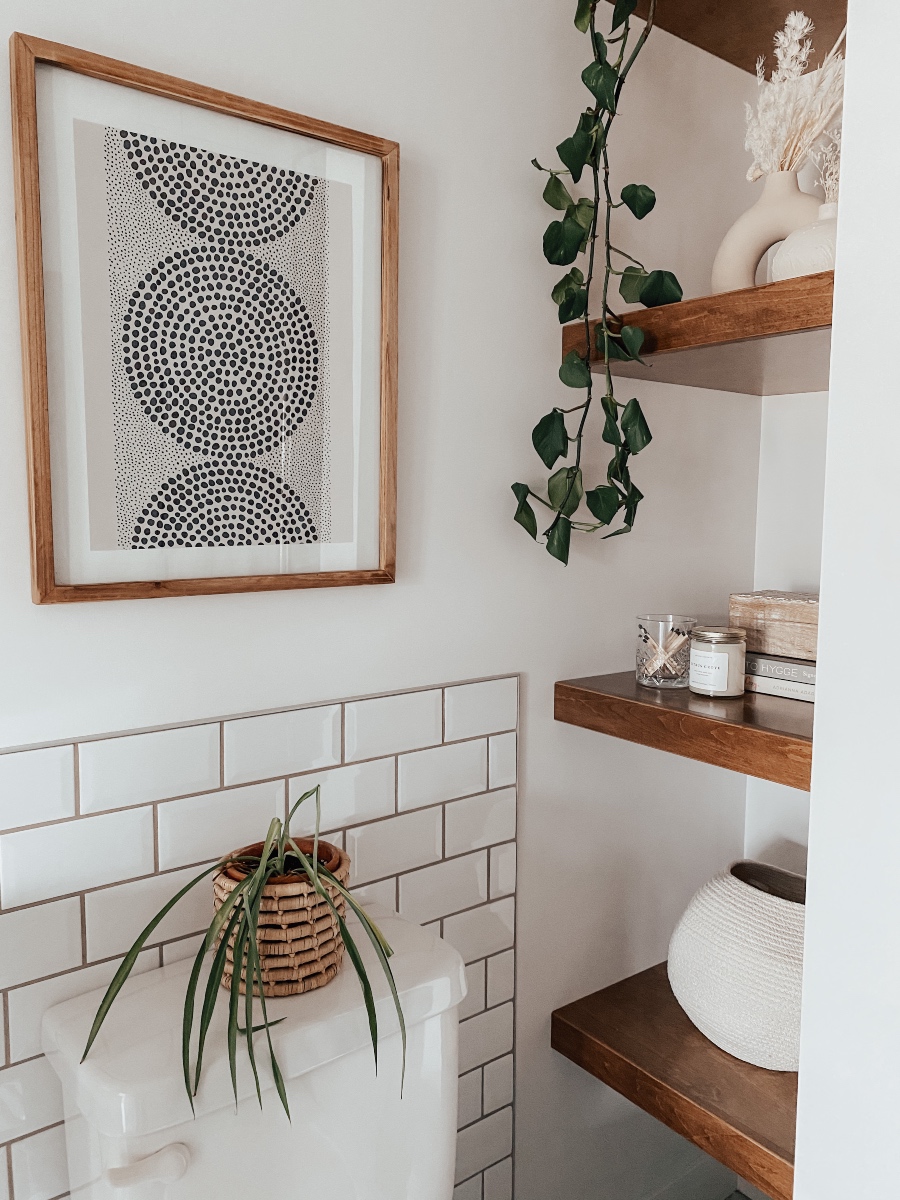
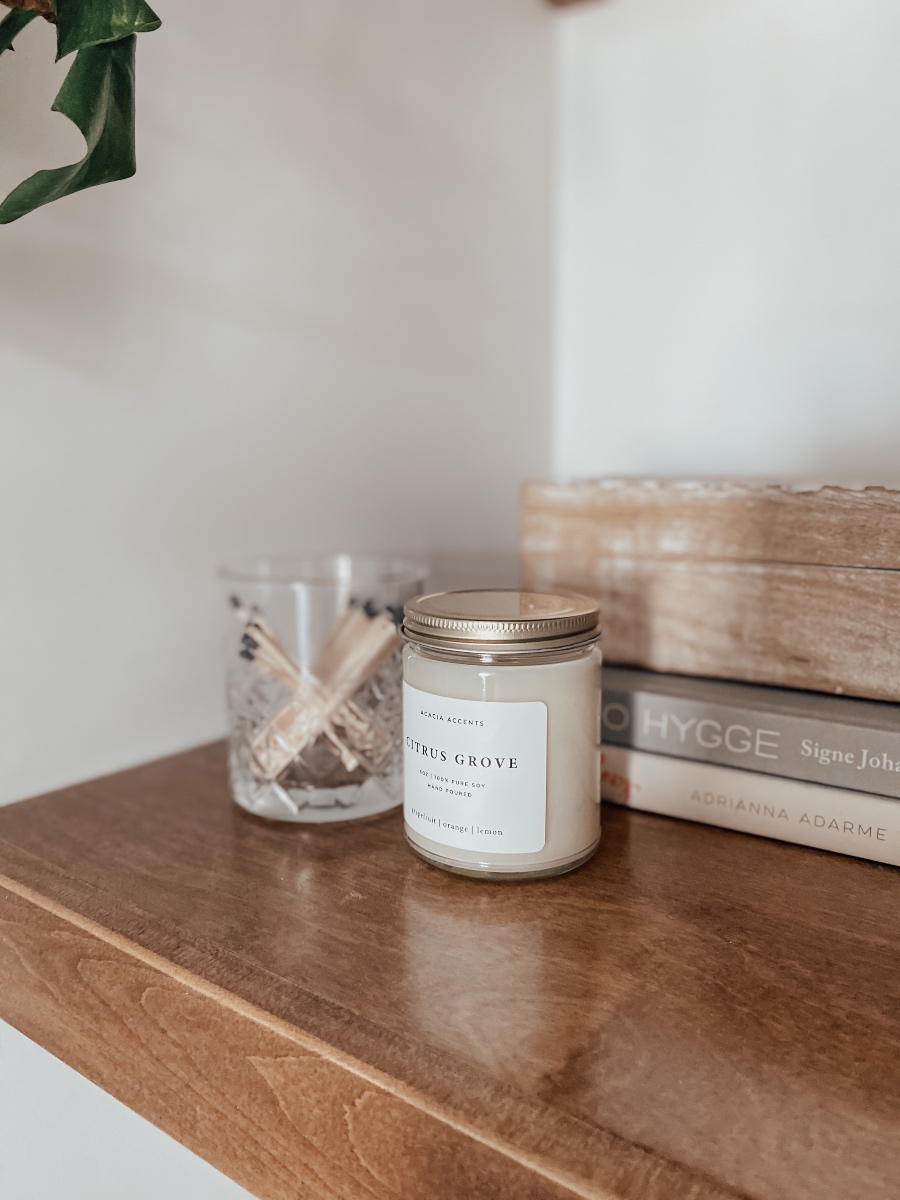
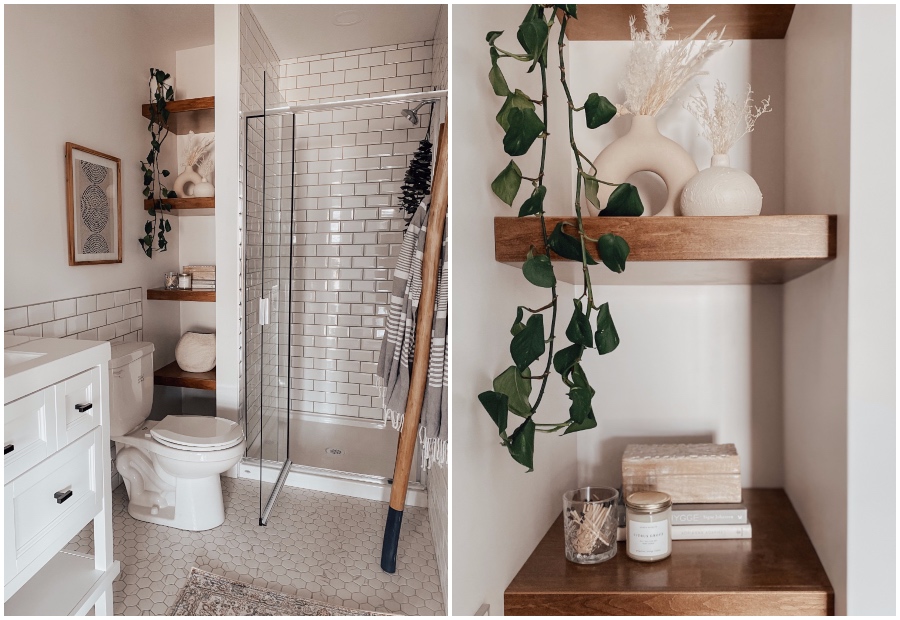
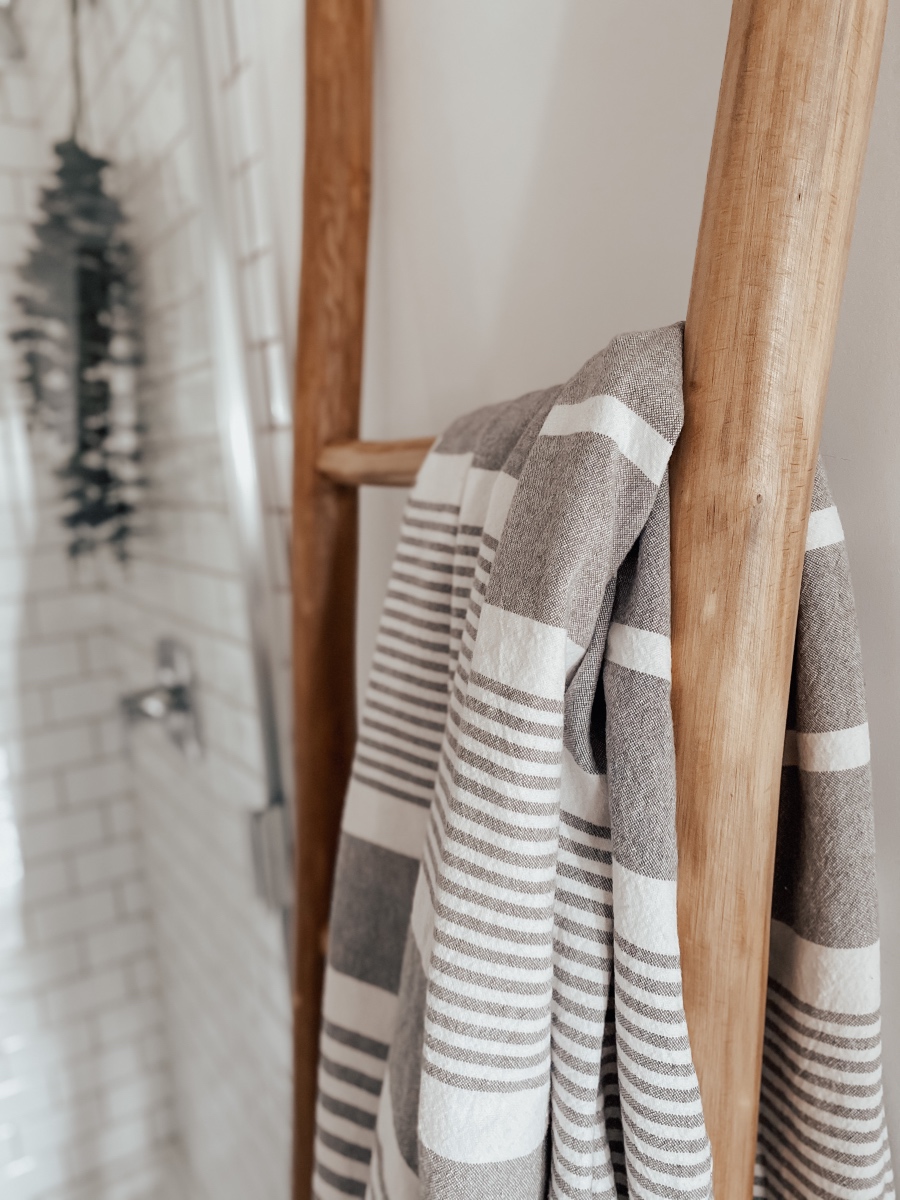
I kept the styling simple, including some neutral elements and a little greenery. When we stock this for guests I’ll have a basket of toilet paper tucked on the floor underneath and I’ll stack some towels nicely on a shelf as well. Other than that, some decor in a space (even a bathroom) is like putting earrings on, it just adds that little extra and makes a room sparkle.
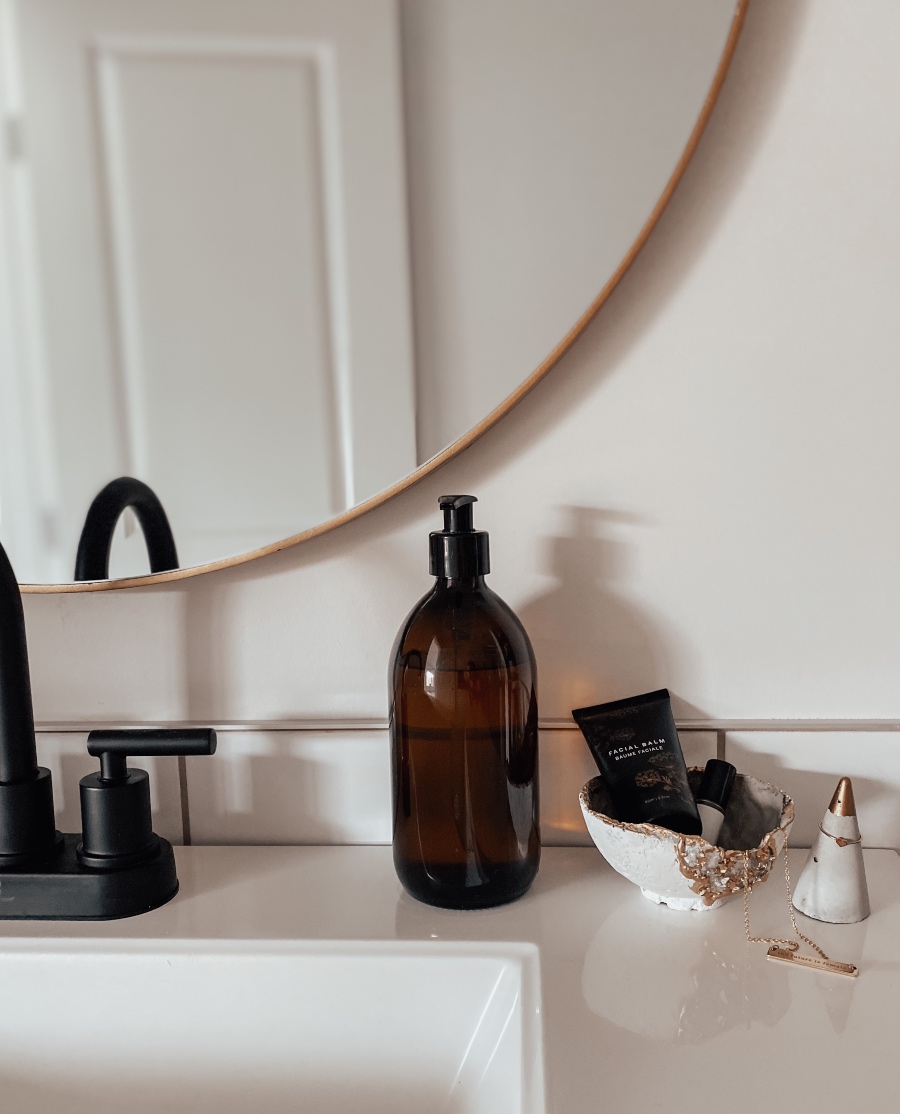
Remember this vanity?
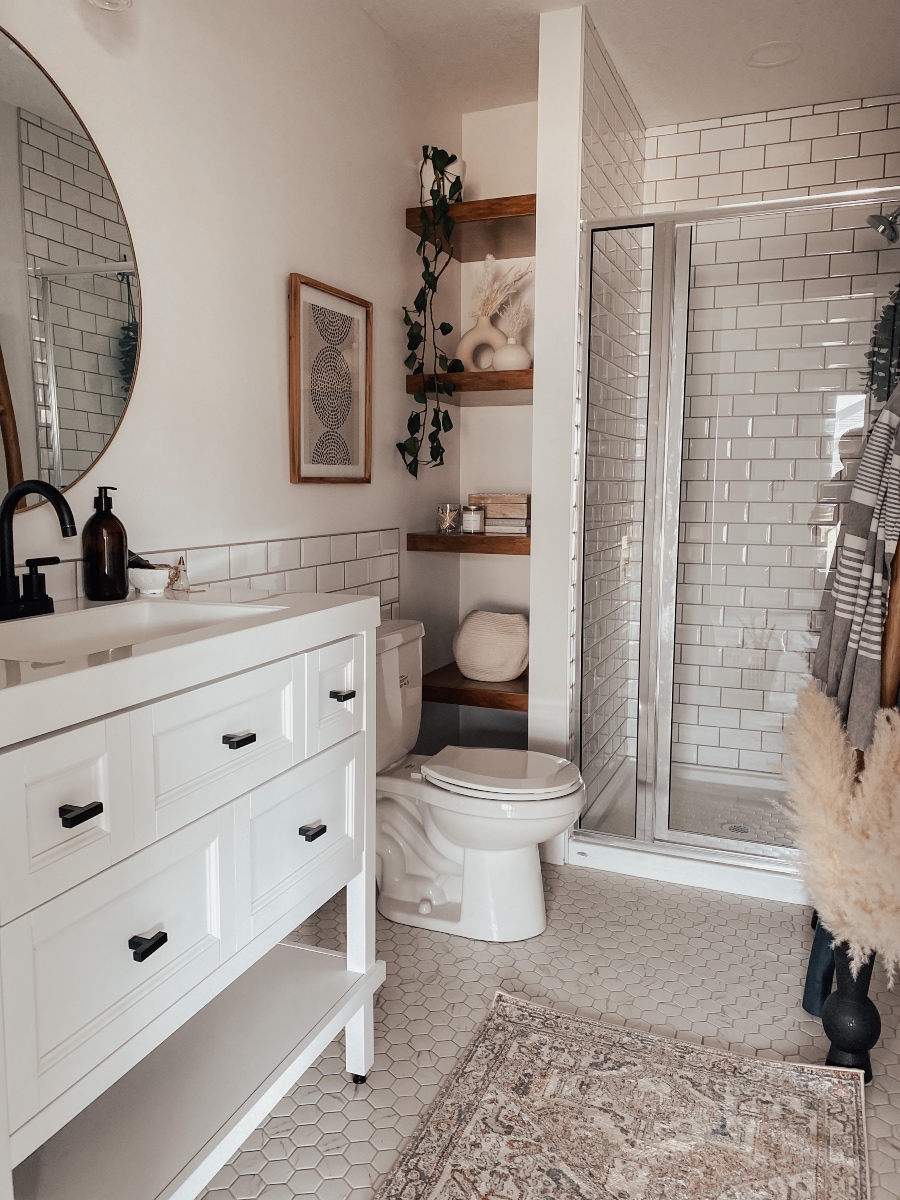
It’s this affordable vanity and I went with some striking black hardware to customize it a little and give it more of a high end look (it’s super affordable coming in under $450 cad).
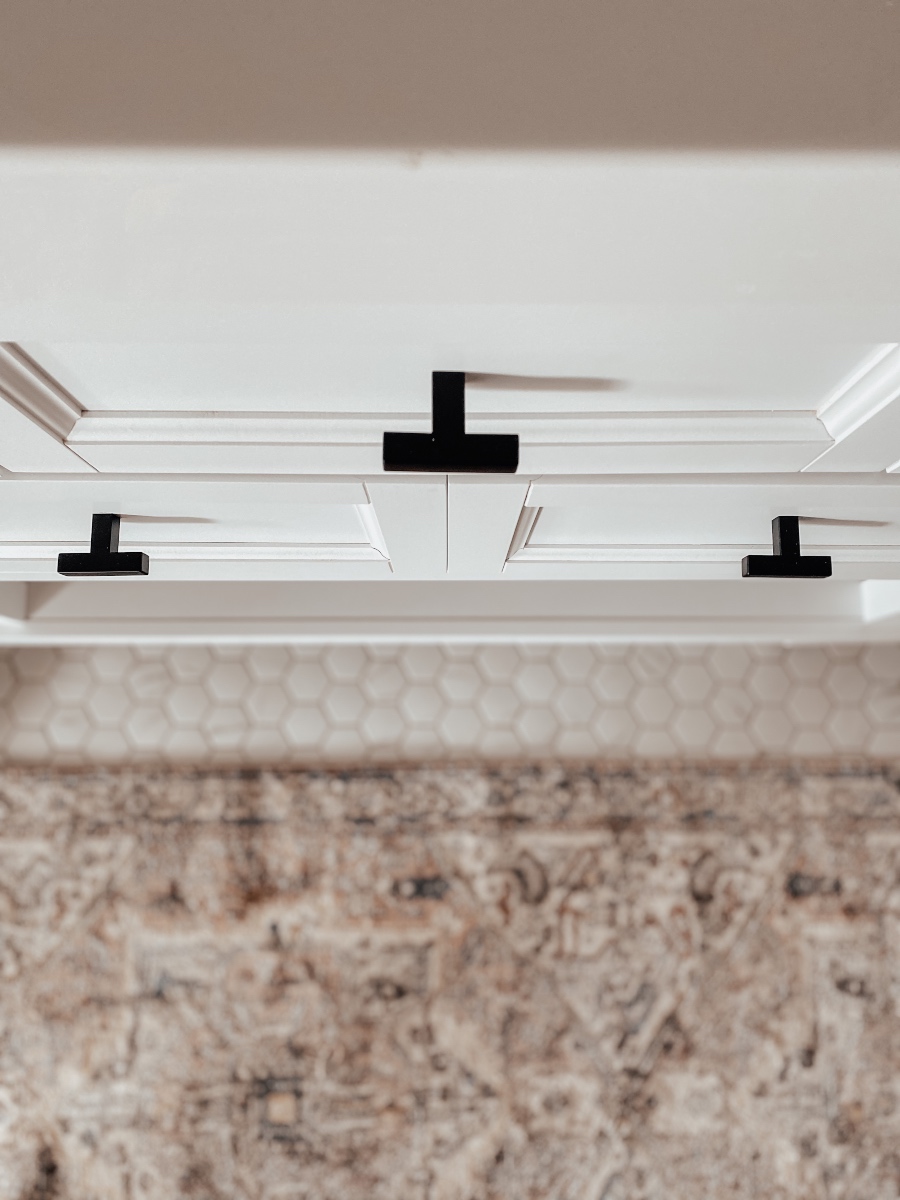
The pops of black look so good with all of the crisp white. I went out on a limb and mixed metals in this space and I think it turned out great! There’s some gold, black and chrome throughout, with black being the dominant metal. I think it’s a nice mix.
Okay, back to the tile…
it’s so stunning I find myself standing in the doorway just looking over everything lol. I can’t believe this is our bathroom now! Well, it’s the guest bathroom downstairs but I honestly might shower down here from now on lol.
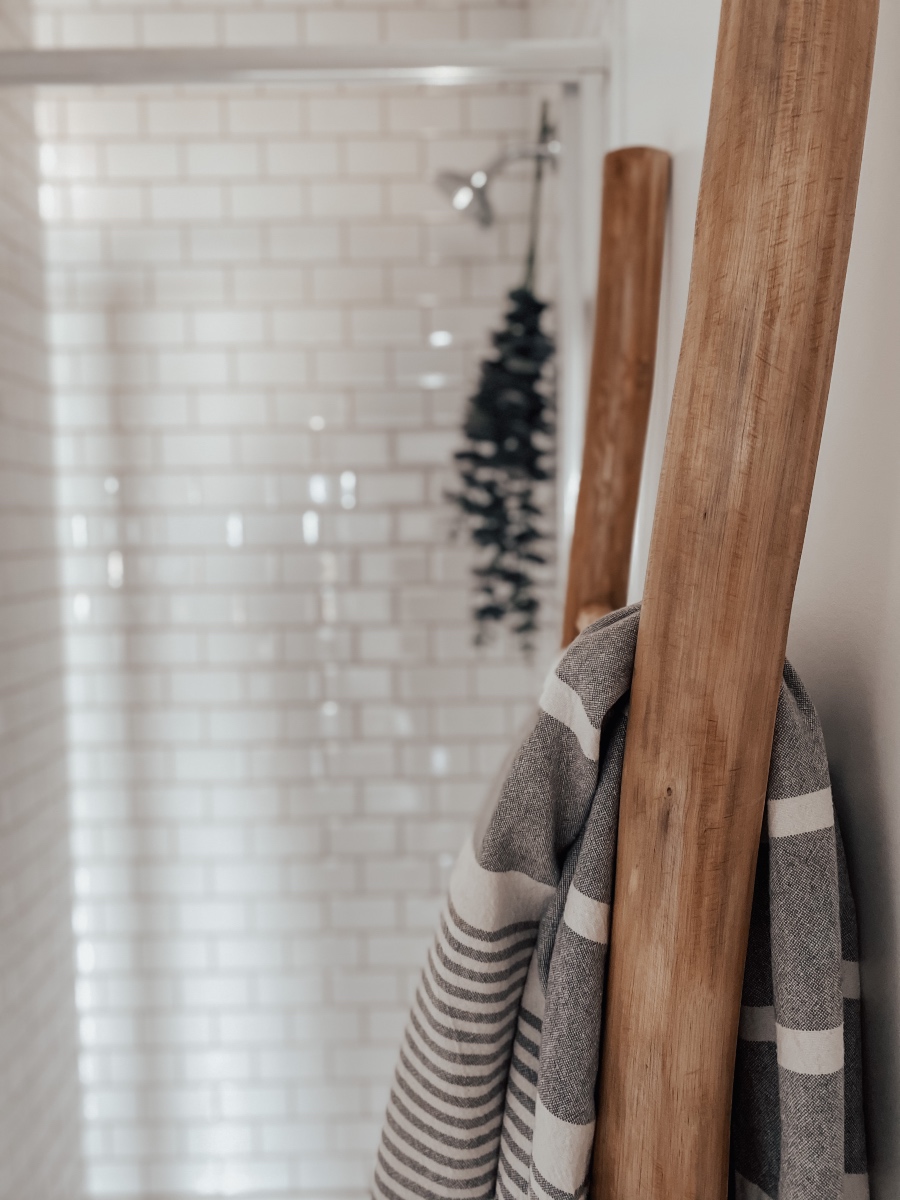
I knew I wanted a tile wainscotting around the bathroom, especially since it’s quite a small room, it would really elevate the space plus tile is so easy to clean! Going with these beveled subway tiles, I knew the subtle detail would add that little extra in here, especially in the shower where you can see all the beveled edges and how they give off a little sparkle.
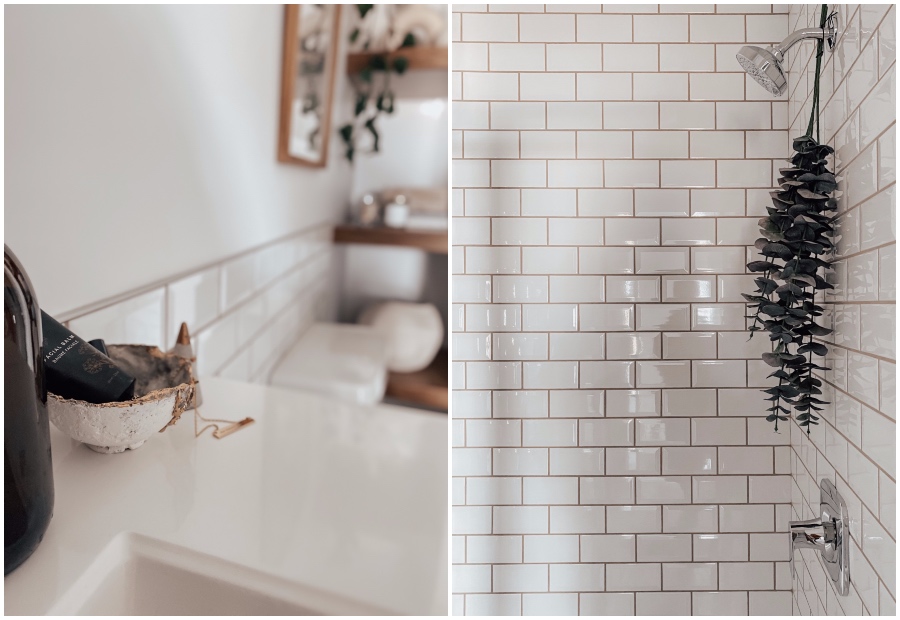
What do you think of this transformation! I love how bright and open it feels considering it’s actually a very small bathroom. The space itself is quite narrow and a touch long. I was able to sneak in some additional storage with the shelving plus our vanity has ample drawer space for guests and there is an open shelf along the bottom as well. We didn’t have room to put in a small closet so I got creative where I could (the shower wall was originally roughed in for a tub instead which I axed).
A few more photos because I’m in love with this room…

So, because we didn’t the finish the renovation in the 6 week time frame,
sadly, I’m not eligible to receive votes during the challenge but like I mentioned, I had a BLAST creating this space and I’m so proud of how it turned out. It was definitely a challenge though hah, and I’m so happy it all came together in the end (even if we were the little engine that could way behind). Definitely 100% worth it all to see this gorgeous finished space.
I’ll be compiling a full list of sources for this space and share that soon but here is a few of the key elements that really made this bathroom *POP*
Bathroom Sources:
- shower & wainscotting tile – Jeffrey Court Tile
- floor tile – Jeffrey Court Tile
- metal tile edging trim
- vanity
- faucet
- drawer pulls
- vanity light
I’m also sharing a mini tour in my stories on my Instagram (everything will be saved to a highlight as well in case they time out!) so come say hi over there and check it out!
Thank you to Jeffrey Court Tile, Sinkology, and Frog Tape for sponsoring this renovation challenge.


5 Comments
Ahh thank you! The time crunch was STRESSFUL lol but regardless, I love the end result so it was all worth it lol!
Hi! It’s from Rugs USA 🙂 I have it linked in my Instagram as well under home links but I’ll be sharing a round up on here with all the details shortly as well!
Hi! Where is the rug from that you used?
Thanks so much girl!
I am obessed! It looks so good !