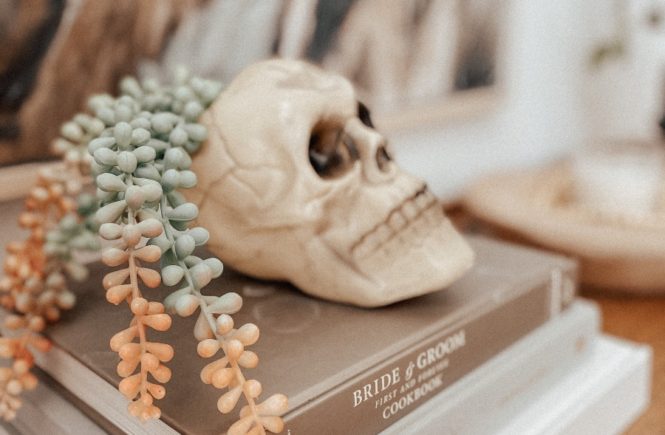
The first Halloween DIY of the season! Do you guys love easy DIYs too? I have a few fun Halloween inspired ones I plan to share, subscribe to the blog to make sure you don’t miss any! I’m starting off with the cutest (can a fake skull be cute??) little Halloween decor craft. I found these plastic Halloween skulls at the Dollar Store last week (just $1.25 each!!) and immediately knew what I wanted to do with them. This fun little DIY takes literally 2 minutes to do and there are so many ways to customize this (I share a few ideas below).

How to make your own skull planter:
First, grab a sharp exacto knife or scissors. It makes this DIY 10x easier. Start cutting into the plastic skull, I made my hole in the top, towards the back. Make a nice, smooth, round circle shape. It will need to be large enough to put a plant in, so keep that in mind.

Because this is a lightweight plastic, I took a large rock and placed it in the bottom to help keep the skull steady. Then I added a plant. I used this faux burro’s tail. I love the long strands and it’s a fun, eclectic vibe to this little planter.
That’s it! Literally the easiest right?
Look how cute it is! I definitely recommend using a fake plant for this. Something fluffy like a faux fern would look amazing!


You could customize this with paint, spray painting the skull gold would look amazing and it could be a neat decor piece all year long actually. I was thinking as a fun little shelfie decor, or adding in a few rocks to the base and turn it into a bookend. There are so many ways to use this little DIY.
For now, I left mine as is, but I think I might spray paint it a soft pink down the road and add it to my living room shelves closer to Halloween.


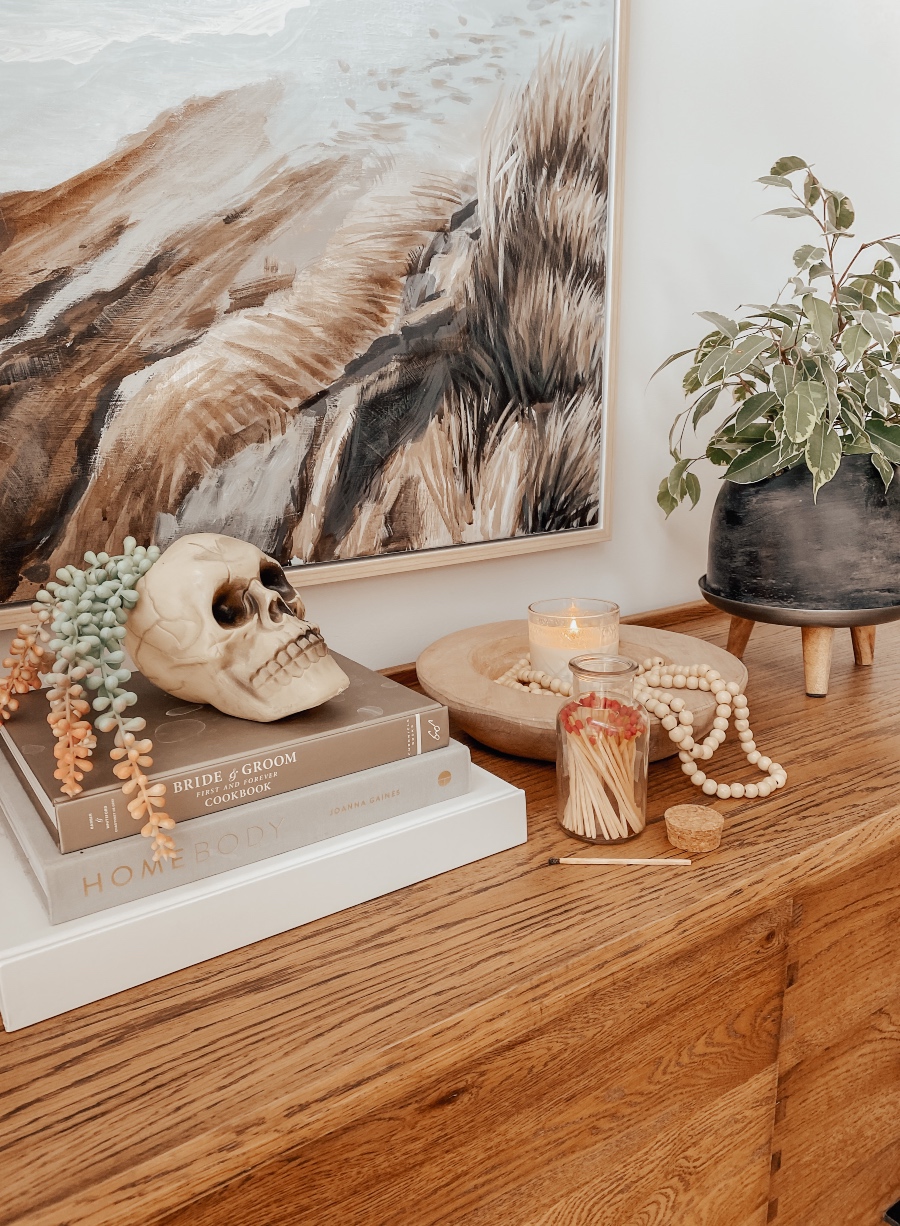


What do you think? Easy DIYs are my favourite and this cute skull planter turned out to look so good! You could do this with any size as well and make a larger one for the front porch too!
Let me know if you make this by tagging me, I would love to see & share on my social media!
xx Megan


