Wow… I meant to write this post literally ages ago when I first built my floating shelves. I LOVE them and when we first moved into this home I remember thinking how perfect this little nook would be for some shelves! Our builder wanted to charge an astronomical amount to make shelves here – so I politely declined lol and ended up making my own for an absolute fraction of the price. No, they aren’t as profesh as I would have liked but I still love them! The best part is, anyone can make these! They are so easy to diy and you just need a few things to make them!
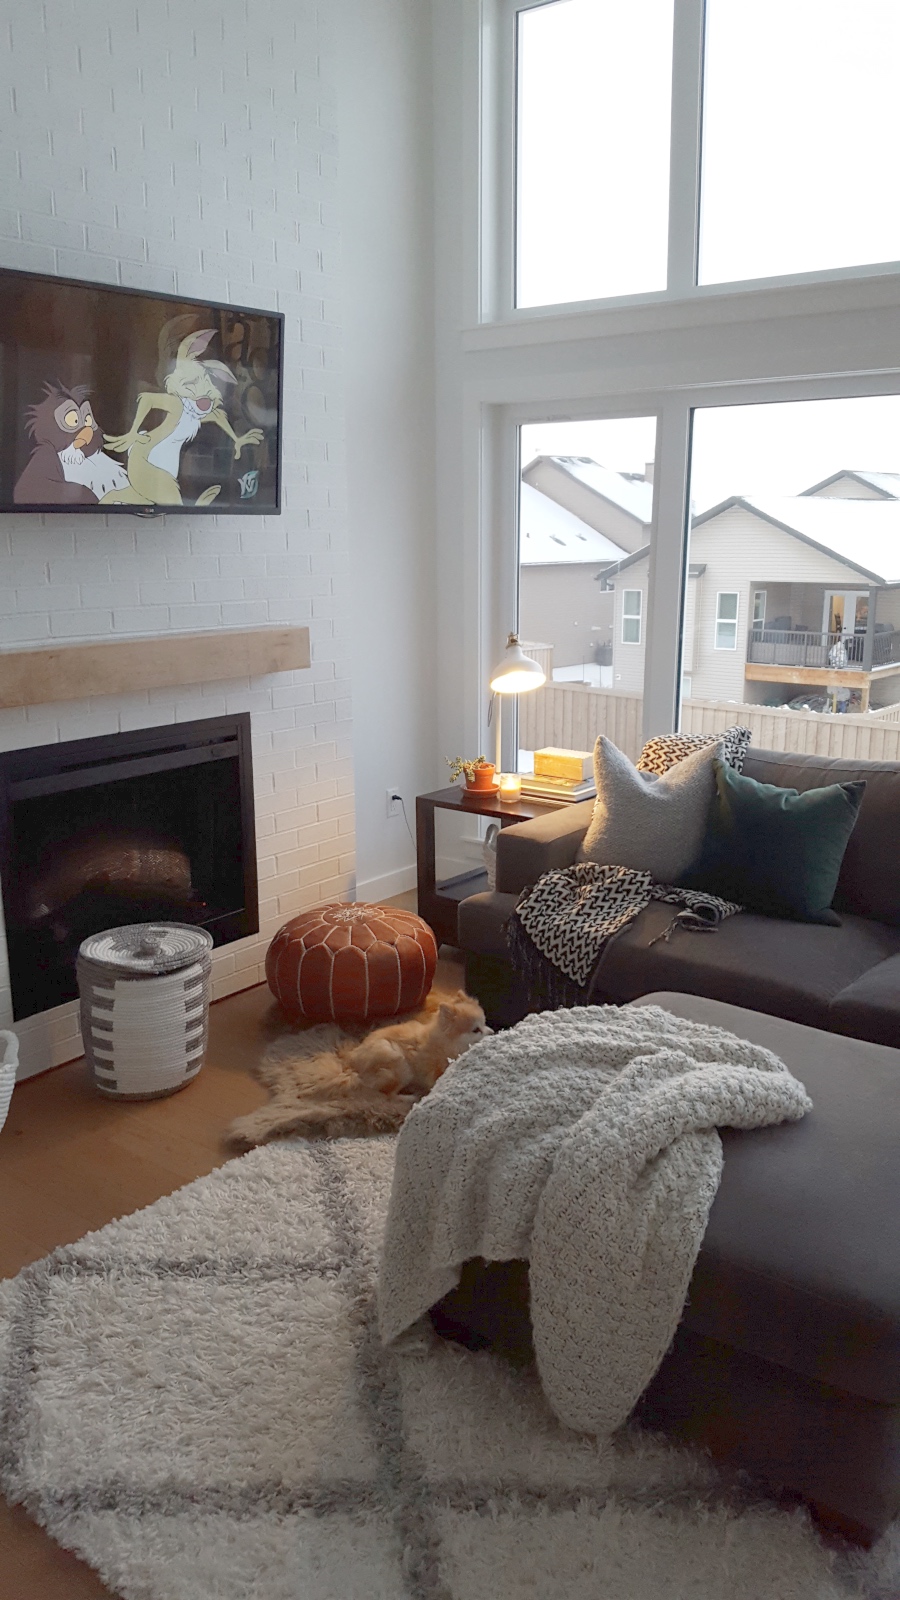 ^^ We had just moved in, so excuse the mess lol. That open nook is just begging for some shelves right!
Okay, so the first thing I did was measure out the nook.
For being a brand new home the walls were surprisingly uneven in spots (weird right!) so if you’re making these, make sure you measure each area where the shelves will go (super important for older homes but also apparently for newer homes as well 😉 I made small marks where the shelves would go in pencil, and also decide how deep you want the shelves to be. We didn’t have a lot of depth here because of the window so our shelves were pretty shallow.
I popped into the hardware store and bought some pine boards. I had them cut the wood to size for me (most places will do this free of charge for the first few cuts!) Then I bought corner brackets. There are a few different sizes. I made the mistake of buying ones too small the first time (I think I went with a 3″ or 4″ corner brackets). I did this to try and minimize the look of the brackets, to have them blend in a bit more. It didn’t give the shelf enough support and ended up making them wobbly when I had decor on the shelf. Eventually I had to go in and use larger brackets so just make sure you buy ones that will support the shelf.
Now to prep the shelves!
I sanded the boards all over and then applied two coats of stain. The brackets were screwed into the wall, I screwed them into studs, which I highly recommend doing always!
Lay the boards over the brackets and screw them in.
If you really wanted to tidy it all up, you could caulk the seams and sides. I didn’t do this though (I think I will eventually).
 ^^ measuring it all out

So this is how they looked for the better part of the year!
I loved what they added to this space!
Then, the little shelves started to bug me haha, I couldn’t really decorate them since they didn’t have any depth. Sooo back to the drawing board! I bought a few larger boards (they were longer depth wise so the shelves would have more space) and took off all of the existing shelves. This is where I bought larger corner brackets and replaced the smaller ones so they would be stronger. The new brackets are 5″ on the top shelves that have a shallower depth and 6″ for the bottom shelves that I thickened up.
I painted them all Summit by Cloverdale paints (also what I have our walls painted) – including the brackets (this is so they would blend in to the shelf and wall).
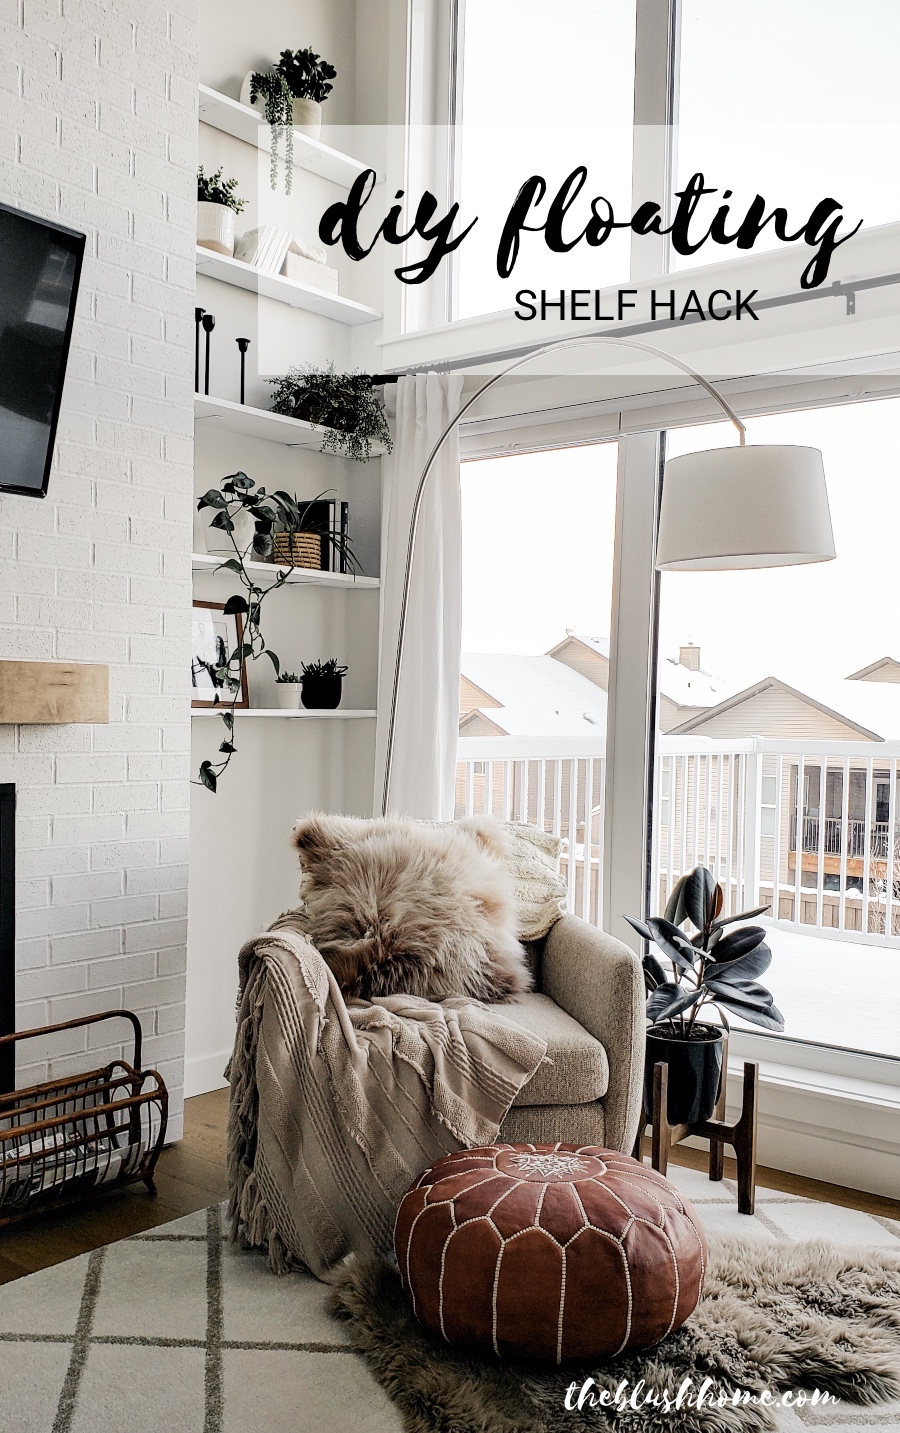
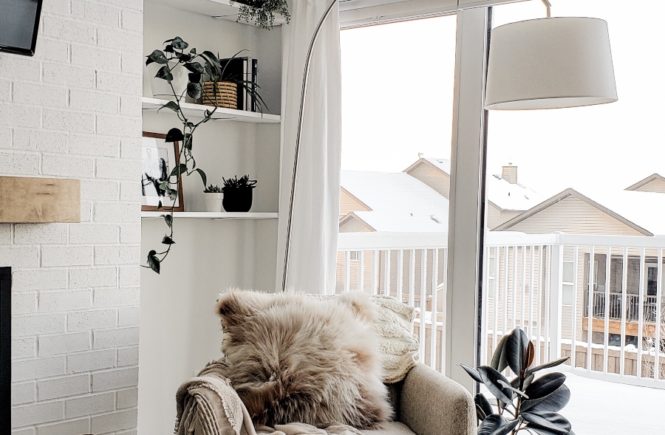
I put the shelves all together again and LOVED them even more!
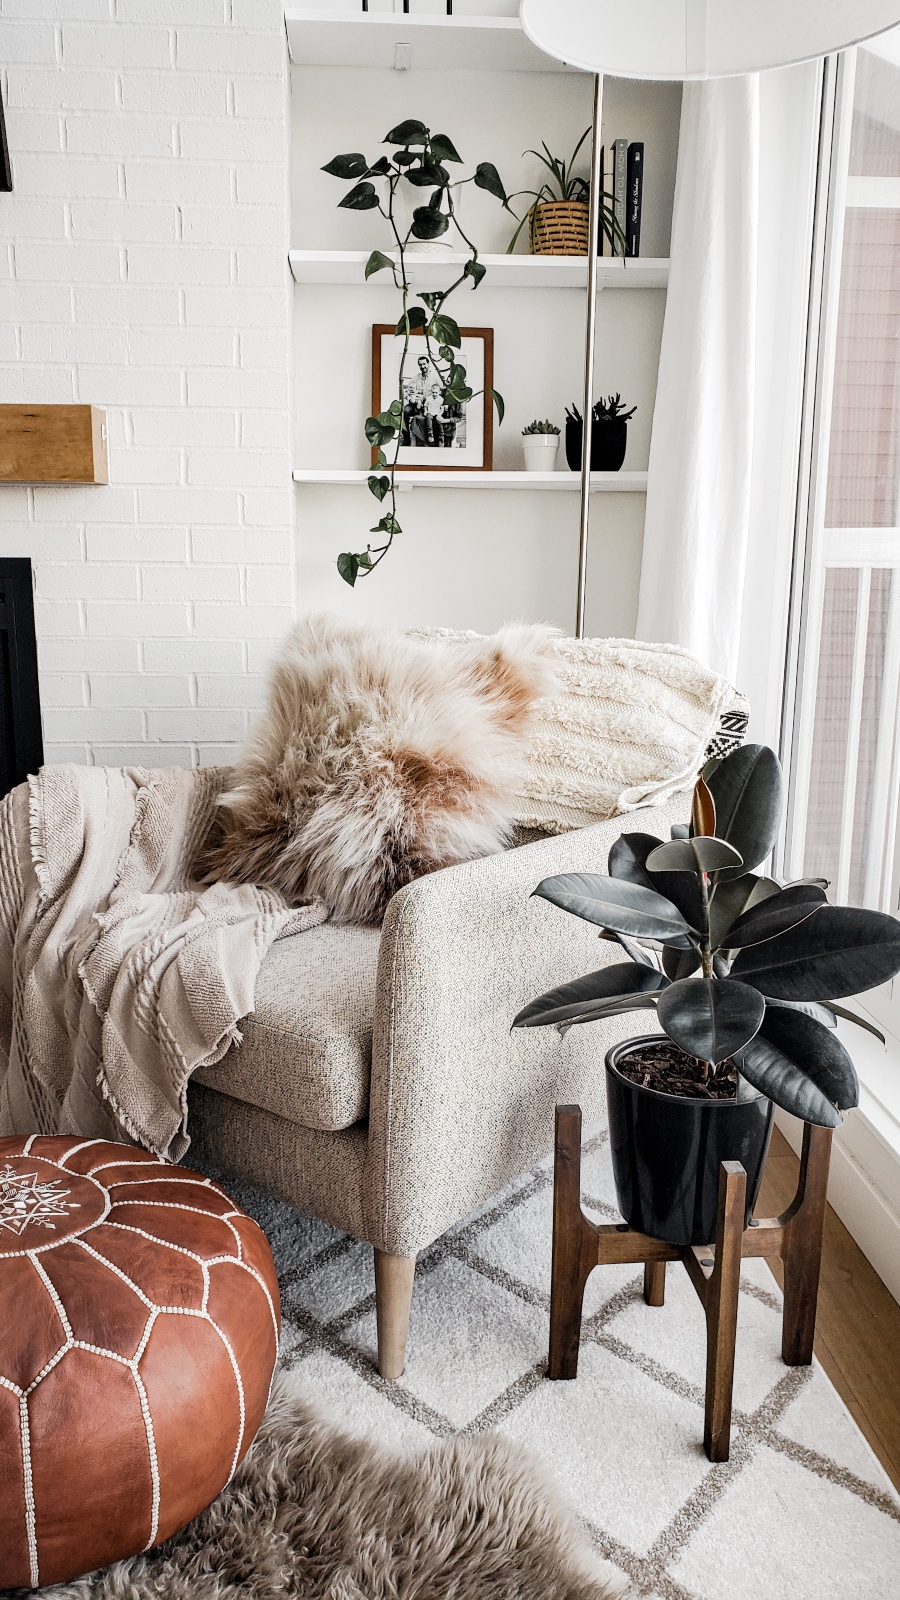
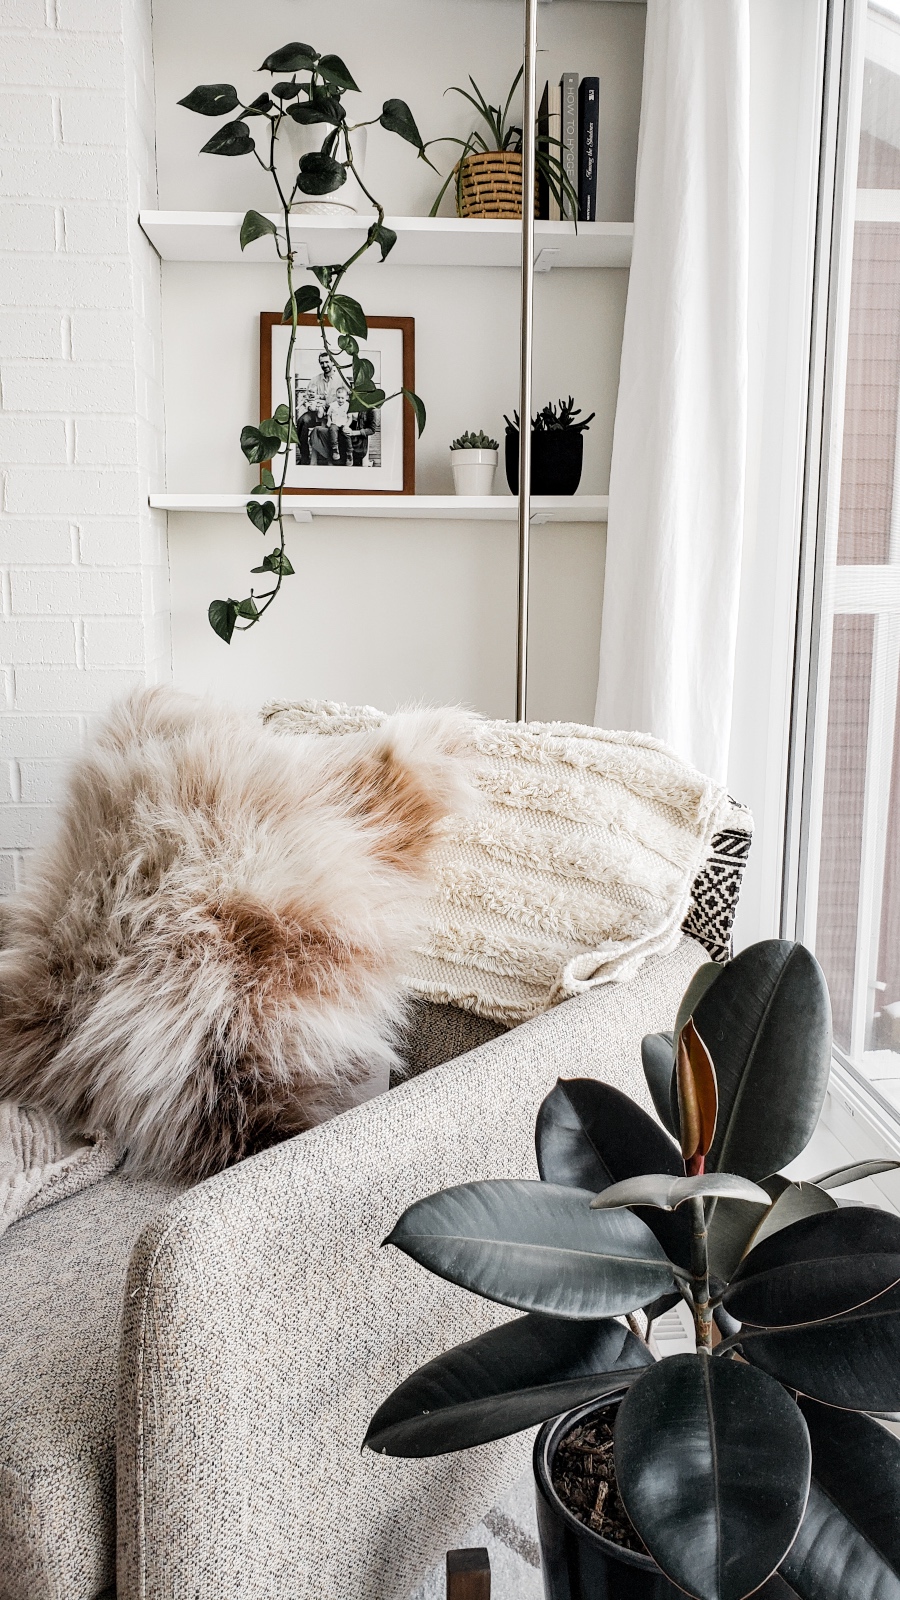
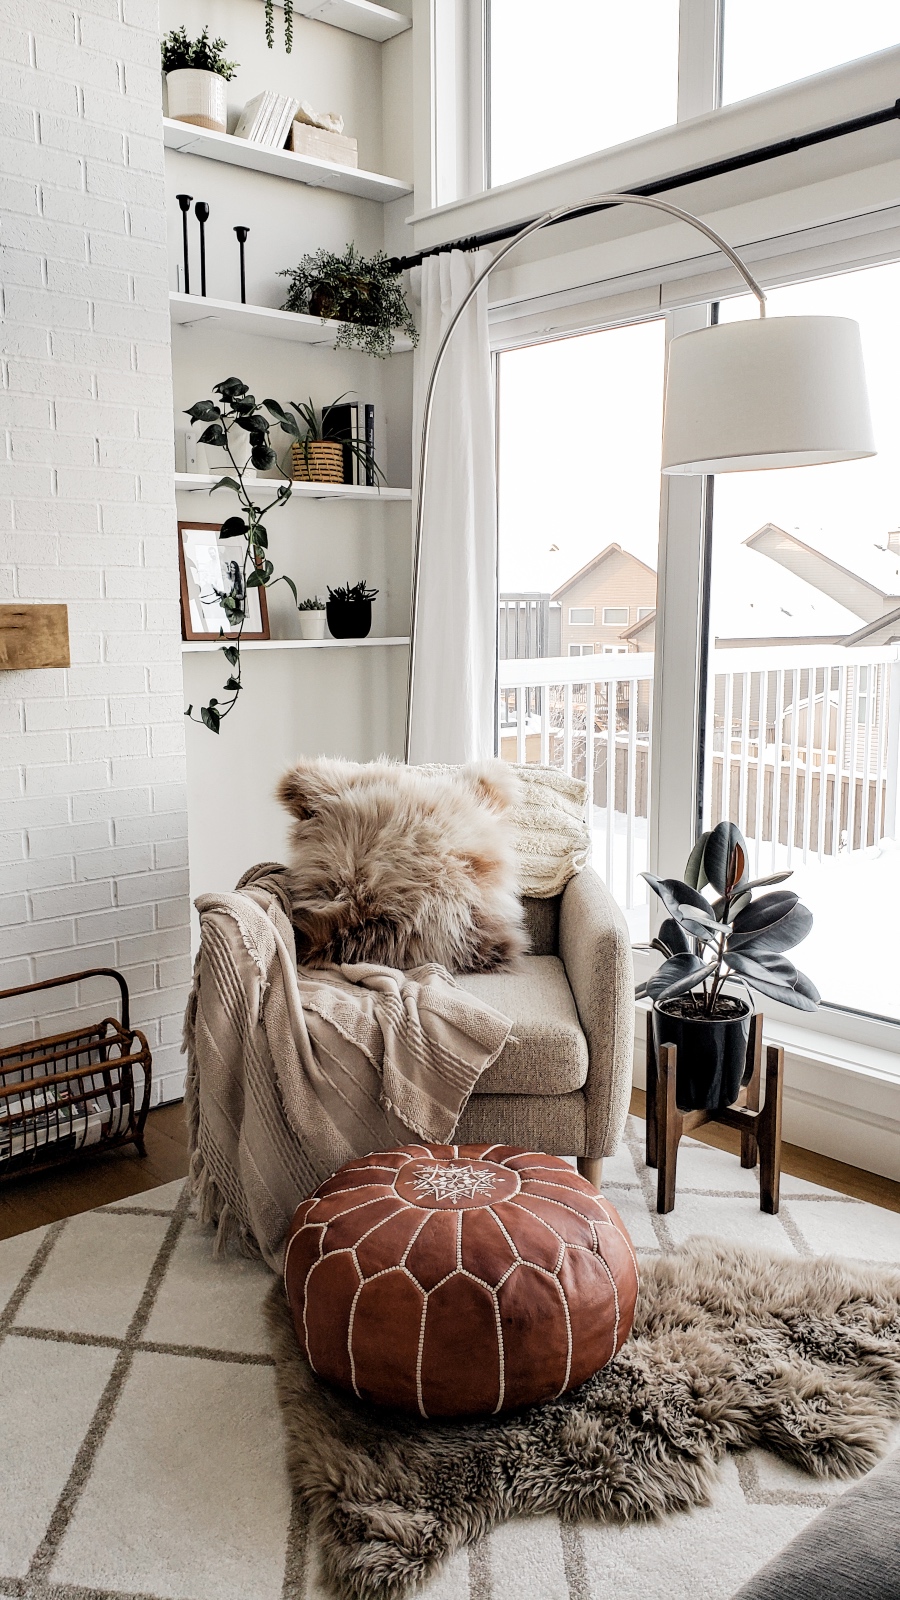
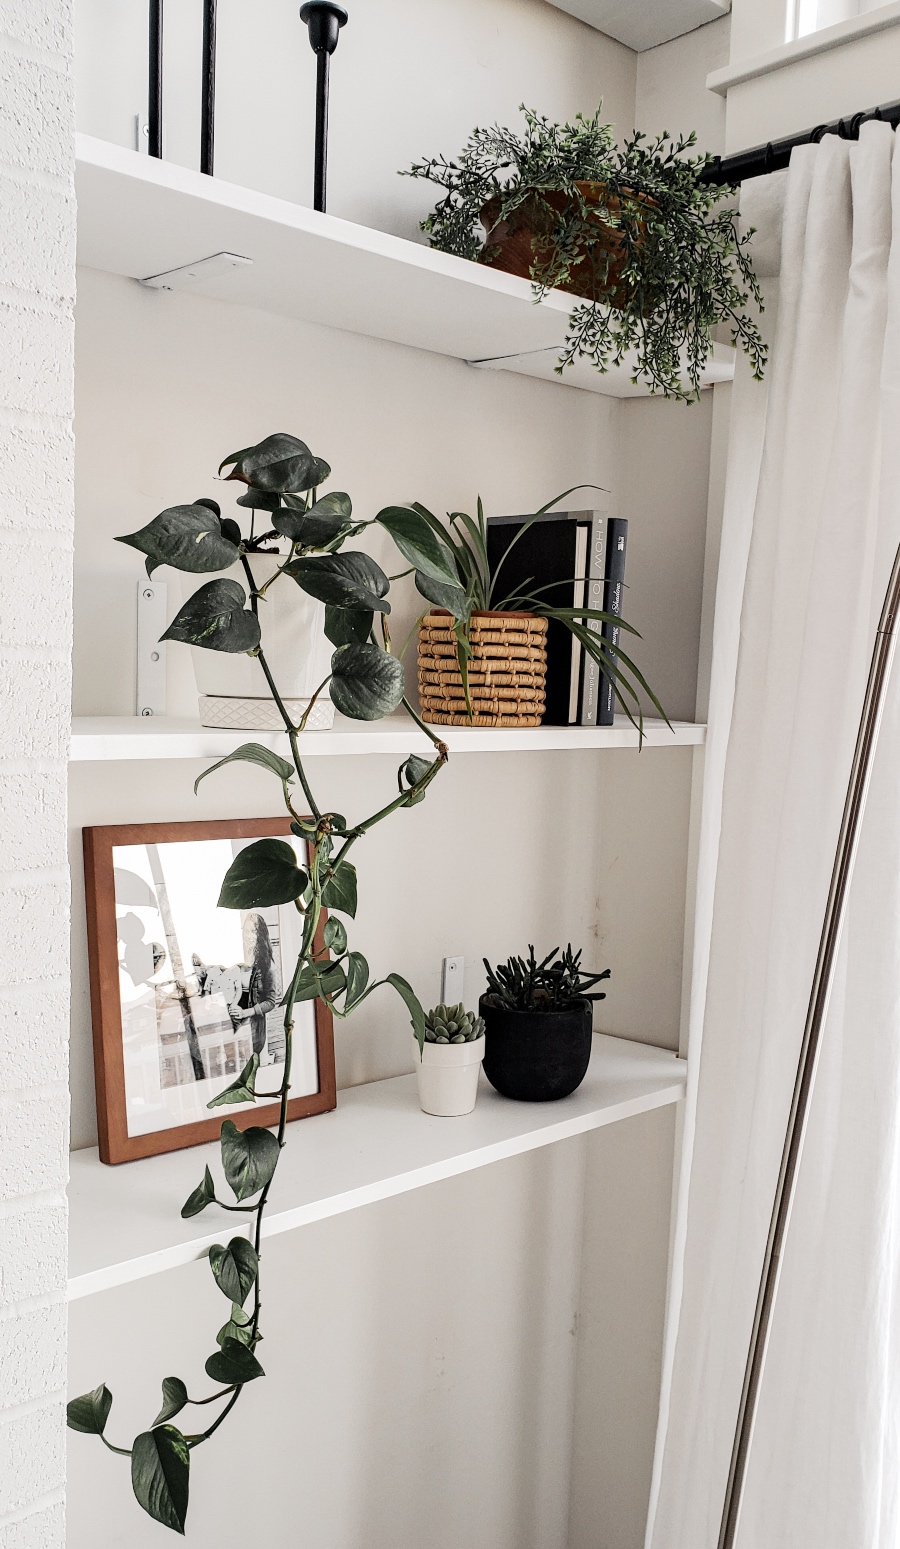
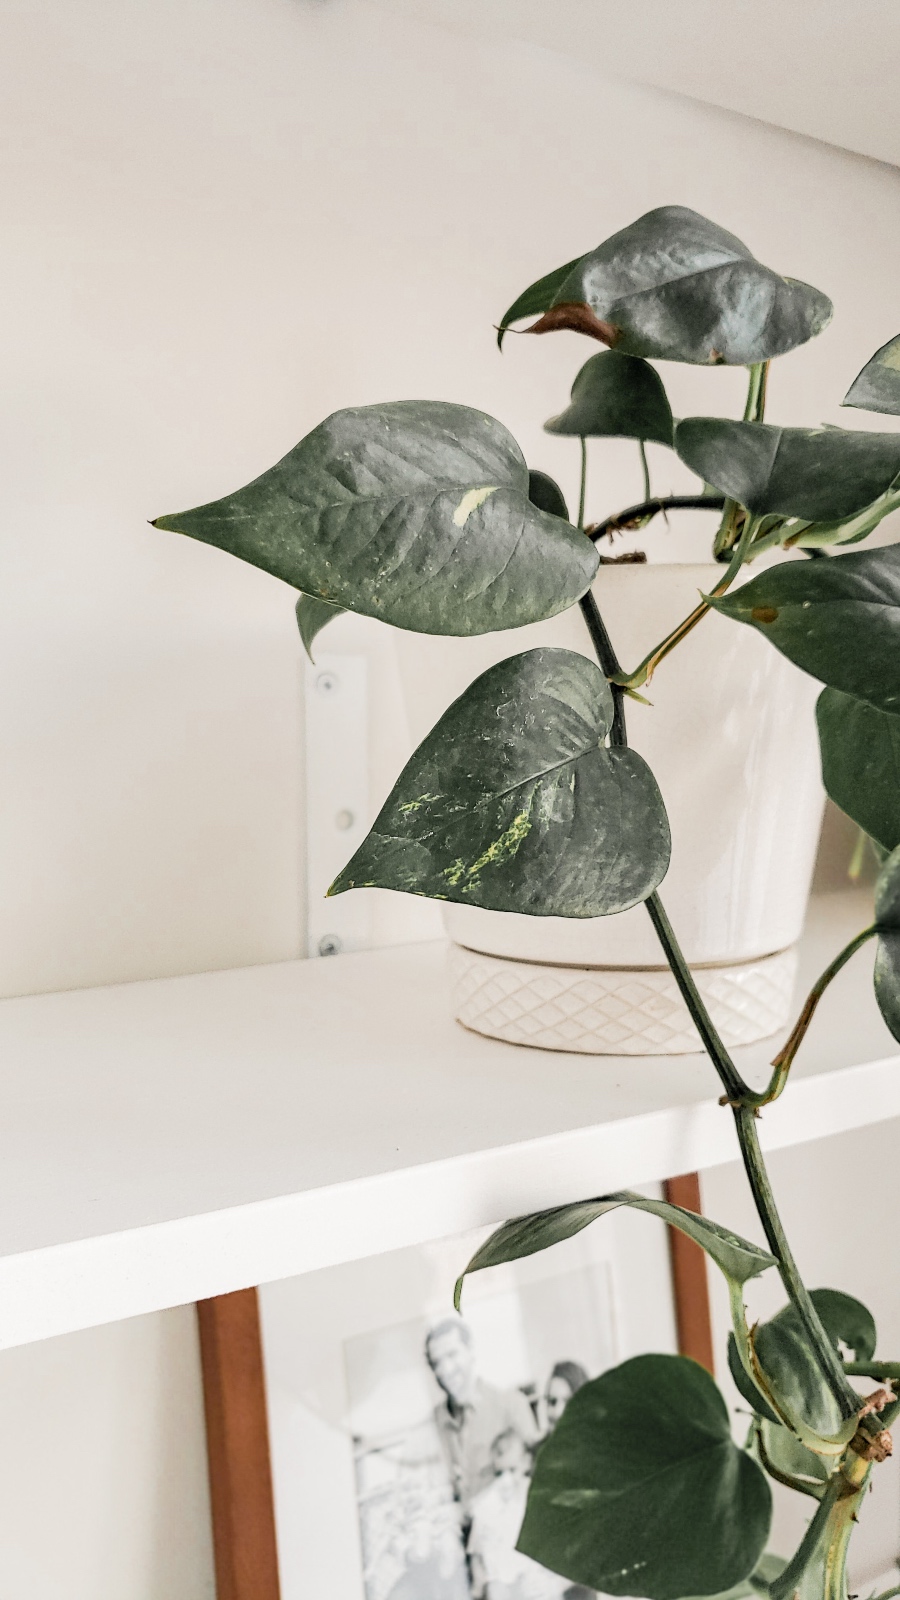
I know there are a ton of mistakes and little things I need to touch up. I didn’t edit any of them out of the photos (tbh I don’t have any app or program TO edit anything out so that’s part of the reason LOL but also it’s real, sometimes these projects drag on and I run out of motivation to finish up the small things!)
You can also see where I notched out the right side of the shelves to fit around the window frame. That’s the only way I could add depth to the shelves and in real life it actually looks totally fine. The curtains are also there and hang over it but even if they weren’t, because everything is the same white, it blends in.
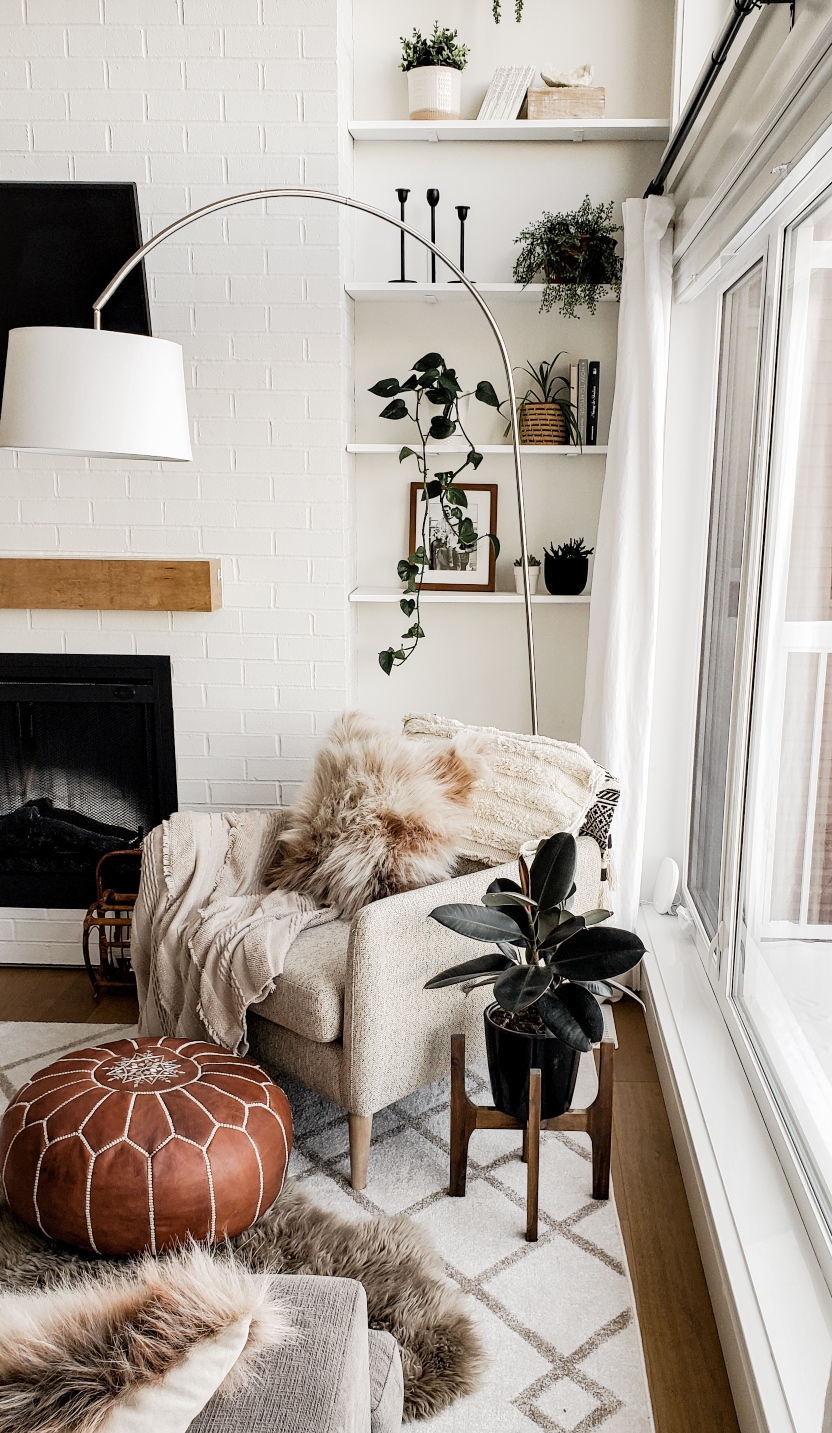

What are your thoughts? Do you like them stained or white better?
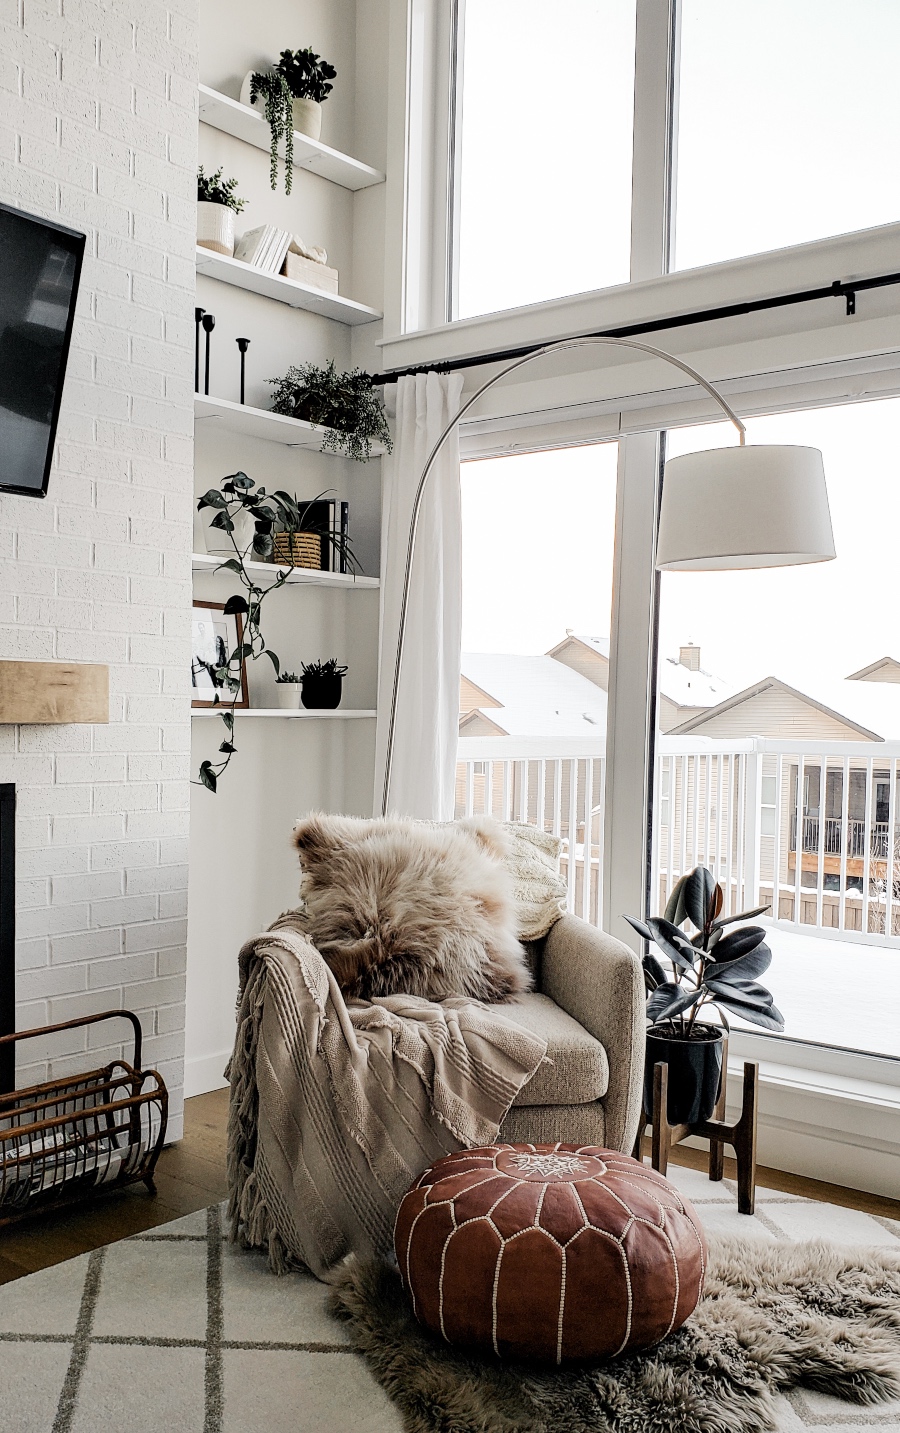
Here’s a little before and after!


Thanks for reading! If you make your own hacked floating shelves and share on social media – tag me (@theblushhome) so I can repost in my stories! I love sharing your projects!


6 Comments
Thanks so much! The chair is from Bed Bath and Beyond actually!
Where did you get your upholstered nubby chair in front of the white shelves? I’m looking for something like that. Also, your shelves are great! I like the stained version and love the height – all the way up! Thanks, Beth
I’m headed over online to Urban Barn next.
That’s why it’s called a floating shelf ‘hack’ lol
Your shelves are very attractive; however, they are not ‘floating’ shelves. True floating shelves appear to be, well, just that. Floating. The method used to mount floating shelves to the wall is completely hidden, thereby giving the illusion of ‘floating.’ Again, your shelves are lovely.