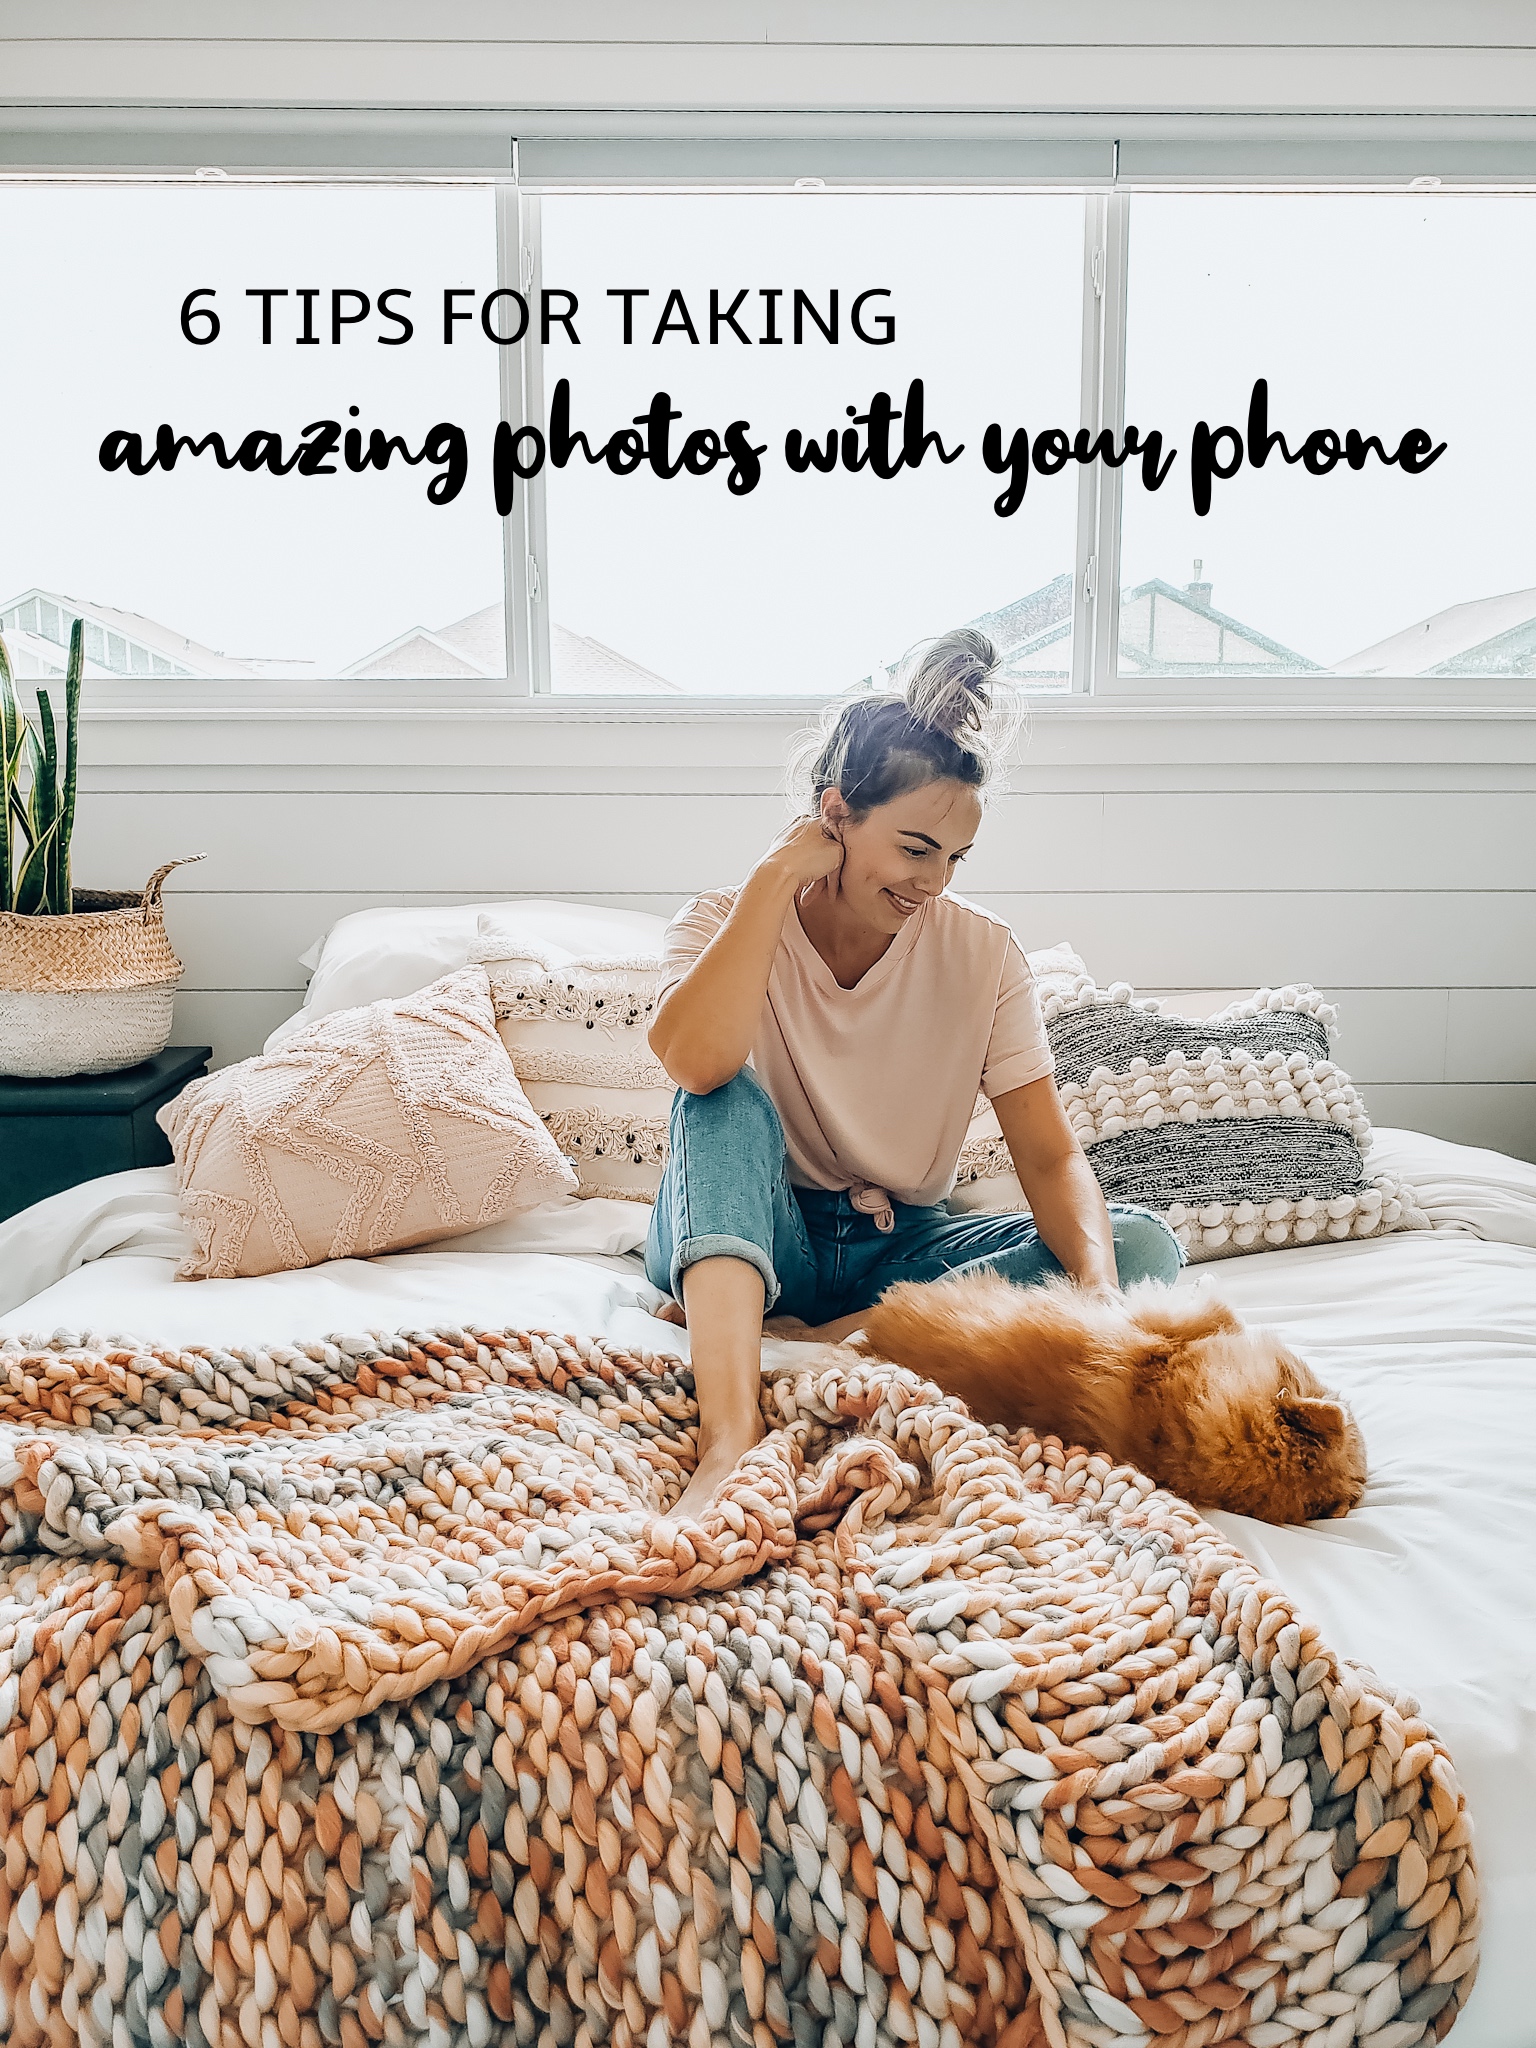
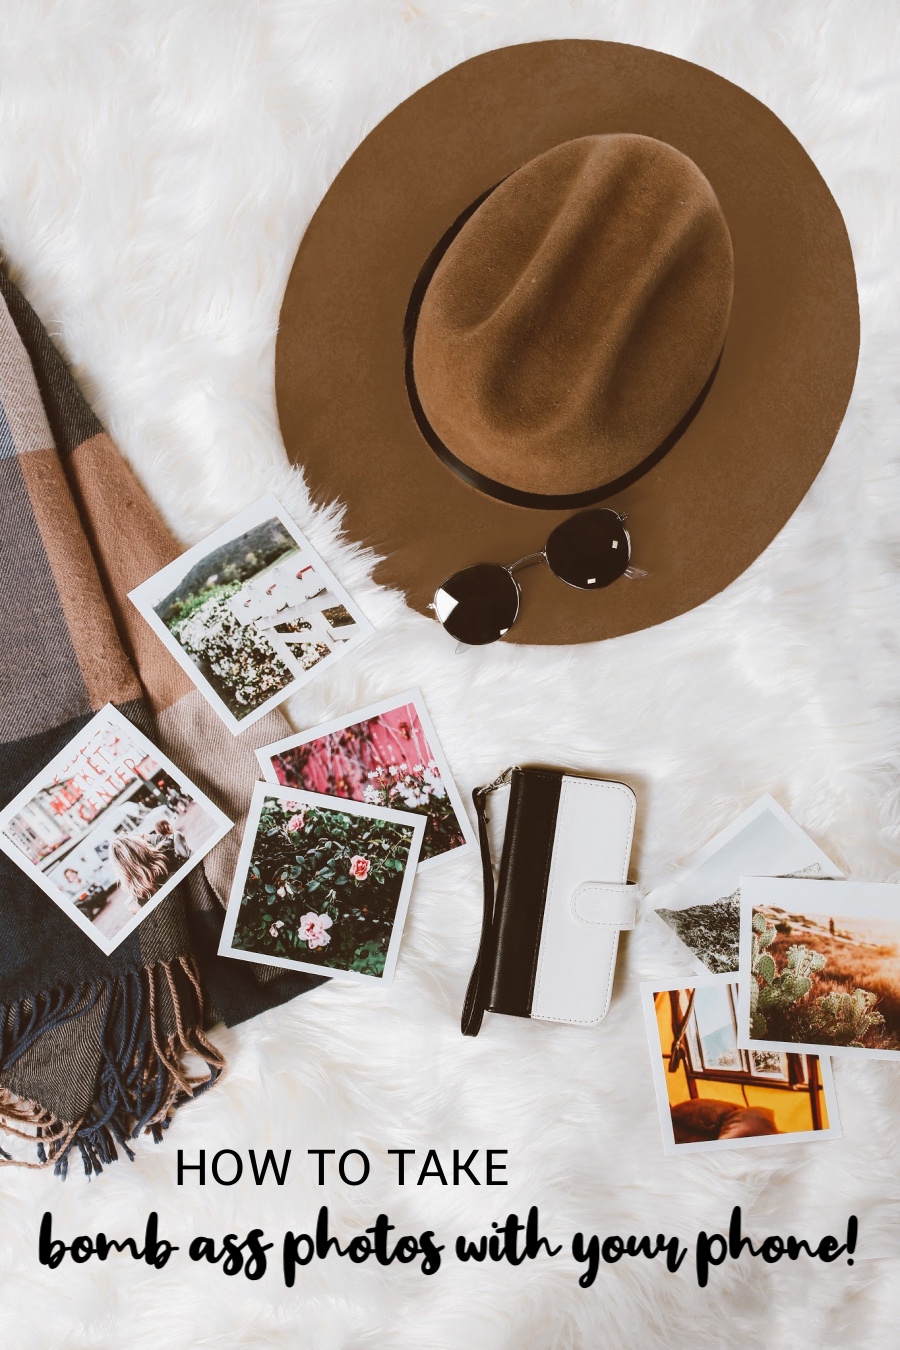
I wasn’t sure how to title this blog post, because I think everyone uses their phone as a camera BUT I wanted to write a post for when you rely soley on using your phone for IG photos, blog photos and all around everything, like me! I don’t have a fancy camera at all. All I have is my phone and it’s what I’ve used since day 1. You don’t need anything fancy to take amazing photos (I mean, you definitely need some sort of newer phone because an Iphone 3 just isn’t going to get the job done LOL). I wish I had a nice camera for sure, but they’re expensive and I have no idea where to even start with researching them. It’s definitely something I’m saving up for but until then, my S9 is what I have to use.
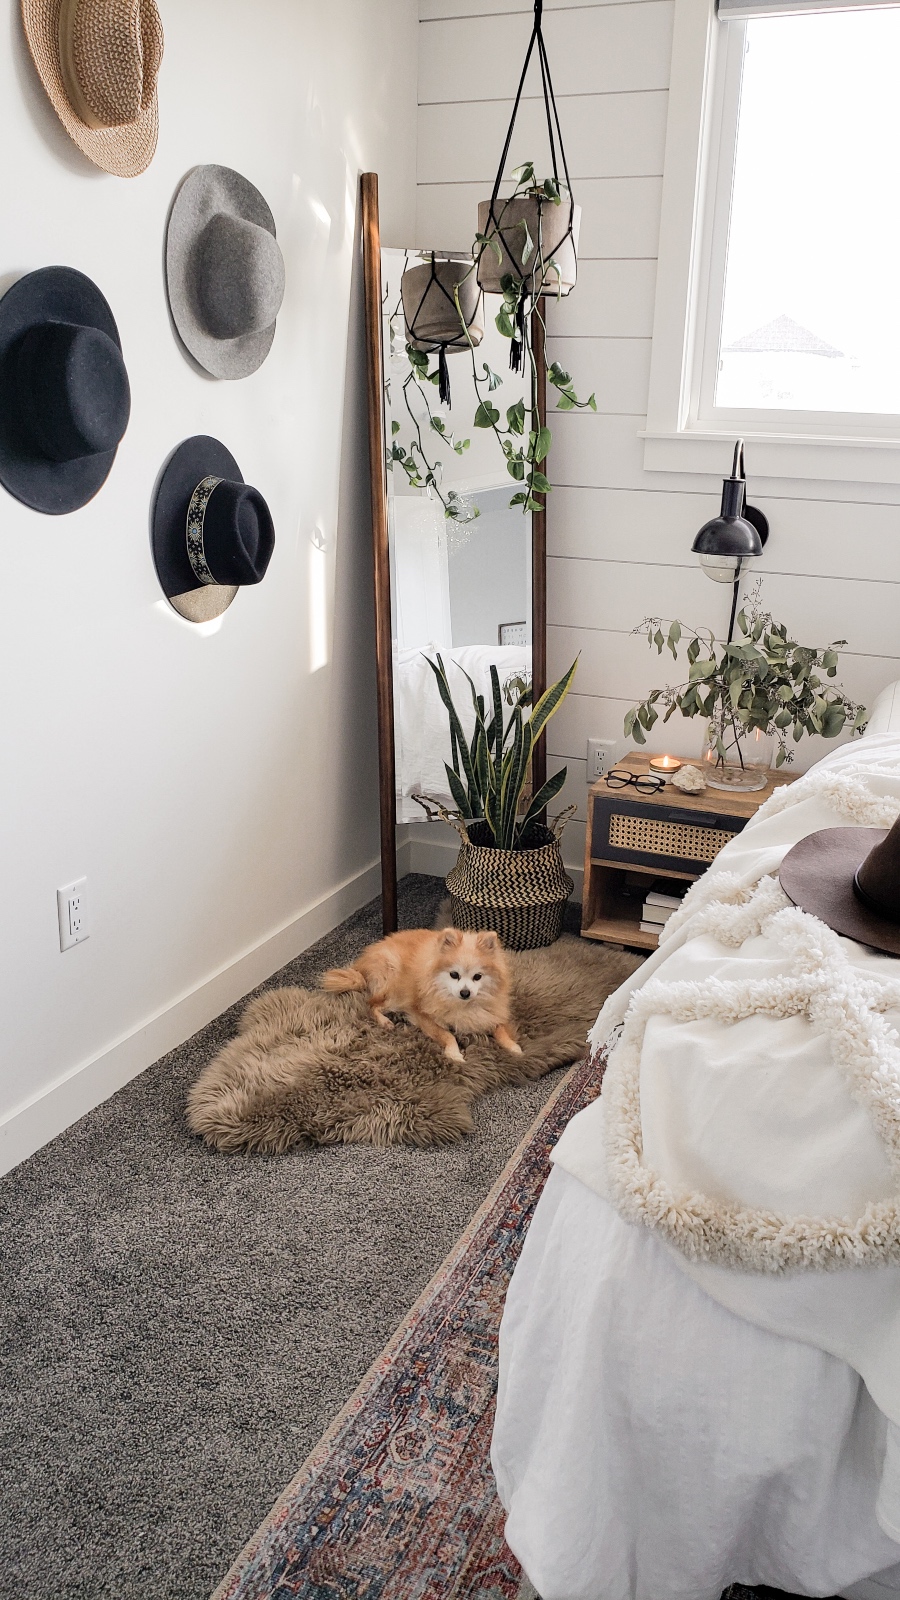 ^^ taken with my s9 – well ALL these pics are taken with my phone lol
I have a few tips to share with you on getting the perfect professional looking photo with just your phone camera. All of the photos I share on my Instagram are with my Android S9 – I’ve had it for around 6 months now and before that I had the Android S8 and that’s what I used 100% of the time too.
Tips For Taking Bomb Photos With Your Phone:
1. Clean your camera lens.
I always do this before taking a photo, just a quick wipe to make sure there aren’t any finger print smudges or anything on the lens to ensure a crisp shot.
2. Try to shoot in bright, natural light only.
I never take photos in the evening or early morning when it’s still dark. I used to way back in the day when I was first blogging and alllll my photos were pretty rough back then lol. Your photos will be much clearer and crisper and the colours more true when you shoot in natural light.
3. Turn on your grid lines for your phone.
I have mine set to a grid of 9 so 3 x 3. It’s a great way to easily make sure your photo isn’t super crooked but also it helps with framing your photo as well. A little trick is to not have everything so centered, so keeping the subject in the 1st or 3rd grid line is more pleasing to the eye, hypothetically. I don’t always follow this, usually if I’m taking photos of the family or something like that, not with my home decor photos.
4. When you have your shot ready,
tap on your screen to pop up the exposure option (this is on my phone, I’m not exactly sure how everyone else’s would show up). Once I tap my screen, a little slider pops up where i can adjust or decrease the exposure to brighten or darken. Now, do not, I repeat, do not over expose your shot! It is much better to have it a little darker and go in with editing afterwards and brighten the photo, than it is to darken an over exposed picture. The colours and edges are more crisp this way.
5. Use a preset to really make your photos shine.
This is honestly one of the main things that has made my photos look great. Using a preset takes an ordinary photo and makes it look professional (imo). I use my Blushing preset on all of the photos I post to my Instagram. At home, I’ve edited photos with Let’s Glow and Airy and then printed them out for framed family photos. They’re so versatile and I share a ton of before and afters in my Instagram Preset highlight tab if you were interested in seeing the difference they make!


All of my presets are just $7 cad too, I made them super affordable and I have 6 in total, all very different from one another 🙂
6. And lastly, play around with the camera settings on your phone.
This helps with the photo size (more pixels per photo = better shots basically I think lol). Also you can adjust the frame size here. So play around until you find one you like.
- (For my phone) Tap the camera icon.
- On the top left, there’s a little gear icon – tap that.
- Scroll down until you see ‘Pictures’. There is a ‘rear picture size’ and ‘front picture size’. Tap on them and adjust the photo size.
- My rear picture size is 16:9 4032×2268
- My front picture size is 16:9 2640×1488
I hope these tips help you if you’re struggling or feeling frustrated with just having your phone to take pictures with. Remember, you don’t need to have anything fancy for nice photos! Anyone can have an amazing camera and still take terrible photos lol, it’s all about the lighting, the angle, styling a shot (at least for my home decor photos styling is so important. If you want me to share my favourite tips for styling let me know!) and then editing. Like I said, my preset that I use takes me average looking photo and makes it pop. Obviously I’m biased towards my own presets haha, but there are so many out there, every style and colour so take a look and find one you love to use on your pics.
Cheers!