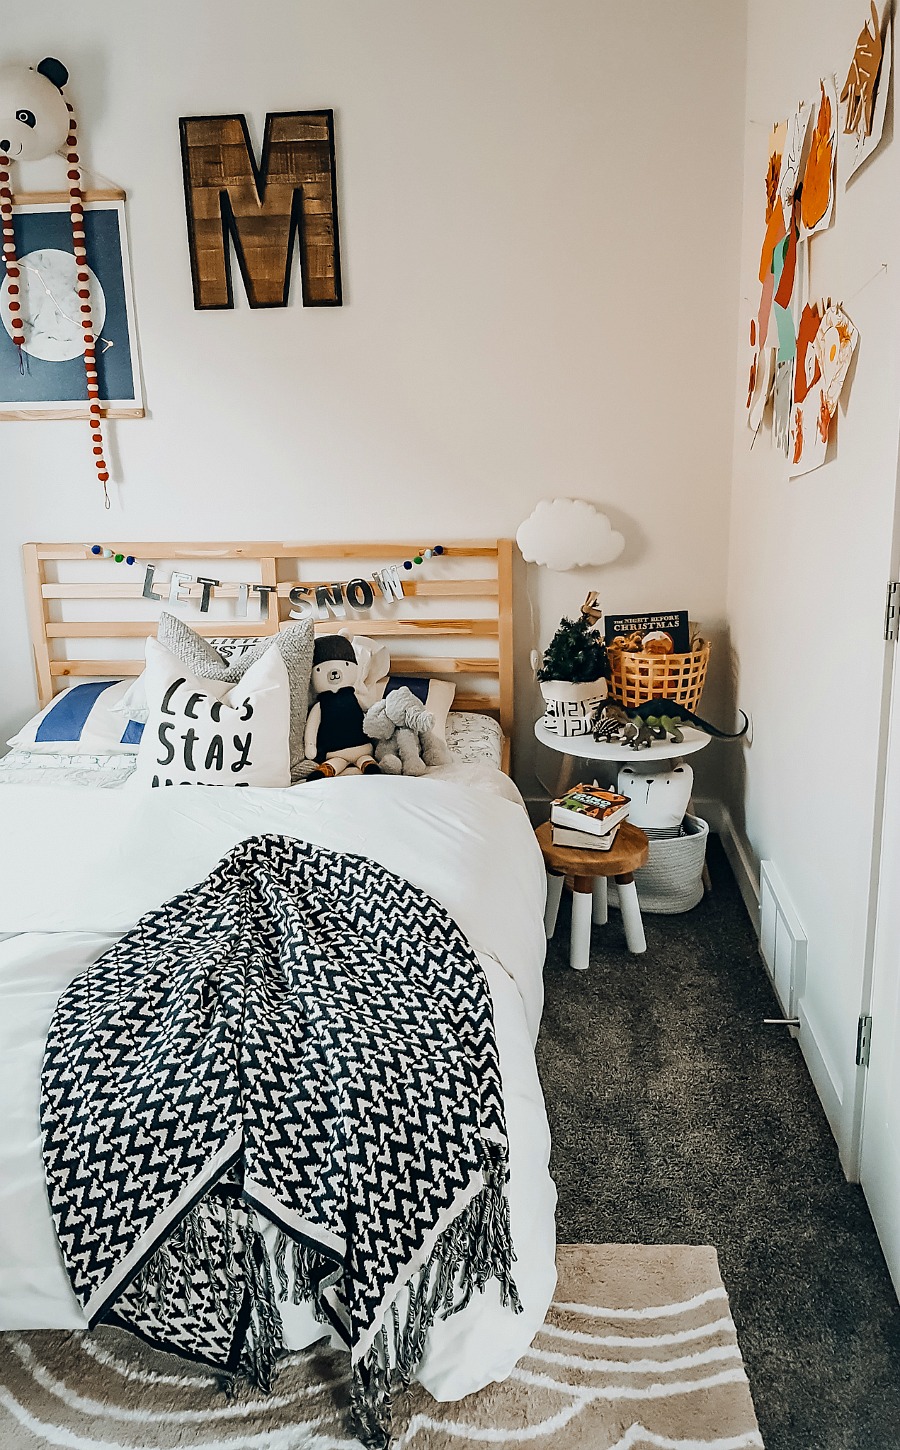
Now that M is in preschool,
he comes homes with so many cute arts and crafts and I love having them displayed on our fridge and in his room. I knew I wanted a little space in his new room to hang all of his little projects and display his art, and came up with the easiest way to do that! Well, I didn’t come up with this, there’s literally a thousand different variations on this DIY but I’m sharing mine and what I used. 🙂
I grabbed some baker’s twine, a level, some finishing nails and a measuring tape. I measured how high I wanted the first row to be and marked a dot on the wall. Then measured again to be sure it was even on both sides lol. Hammer in a small finishing nail on both sides, then tie some of the twine on one nail (I wrapped it around the nail several times and then double knotted it). Make sure the twine is really tight when you tie it to the second nail so that it doesn’t droop when you hang art on it.


Then do the same thing with the bottom row. I only did two rows in M’s room.
You could use mini clothespins or little paperclips to hang up the art, I used a mix of mini and large clothespins (just what I found). It works like a charm!


Such a fun way to add some colour to a little one’s room
plus I love how easy it will be to change out the art and you can hang as much or as little as you want.
Here’s a little before and after of the space
(and this is exactly what’s hanging in his room right now, I didn’t pretty it up before the pics because I just can’t with that hah) so it’s pretty stacked with art and I haven’t seen it droop or needed to readjust the twine. It’s very sturdy and more importantly, M loves it!


