Hey guys! It has been.a.minute. since I’ve posted! Tbh, I was feeling a little uninspired on this platform and we were in the process of selling our home and moving, so I just took a step back and focused on that for the last couple months. But I missed blogging and wanted to share what has been going on in my life!
Who else takes forever to get settled in when they move?
*raises both hands* We moved in to our new home the beginning of this month and I still have so much that needs to be unpacked and put away. Don’t even get me started on our unfinished basement and where we put everything we didn’t need when moving in lol aka all the boxes. On my to-do list is adding some shelves to our home and building in extra storage where we can. Our main bath is tiny (very cute and we love it) but tiny. There’s a small vanity and that’s it for storage. I’m planning on building some simple wood shelves for above the toilet and they couldn’t be easier to make you guys.
You’ll need to pick up some nice pine wood (or whatever you like, I bought pine). Check to make sure it doesn’t bow out, is crooked, or have any large knots or cracks. I measured out how wide I wanted our shelves to be and then used our circle saw to make my cuts. Our shelves will be 19 inches wide.
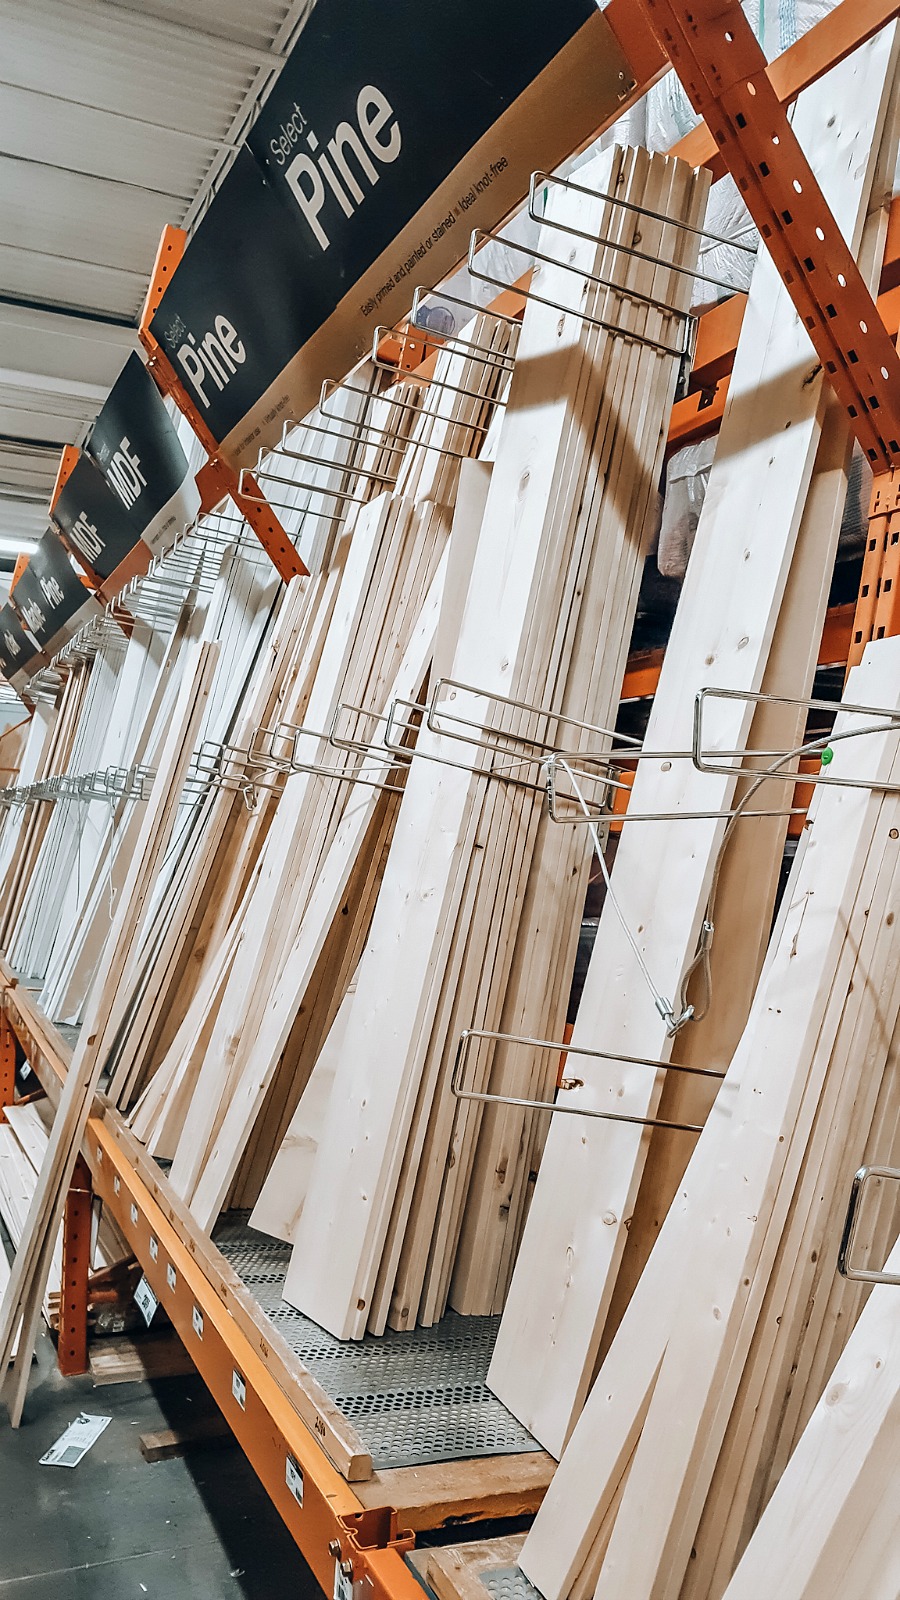 ^^ There was select pine or knotty pine, both around $7 for a huge piece – the select is supposed to be almost knot free and really smooth, however, I found most pieces I checked were crooked so I went with the knotty pine.
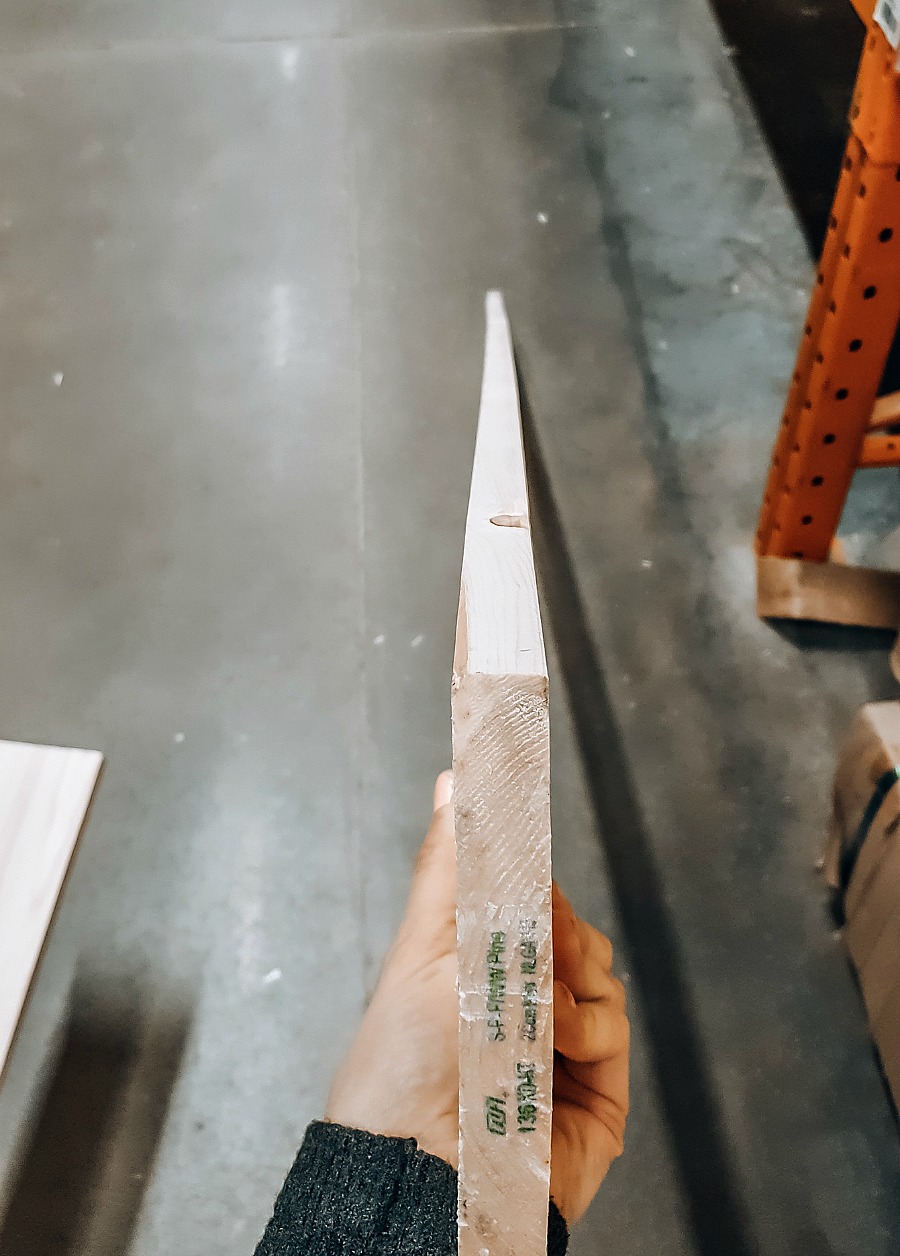 ^^ To check if your wood piece is crooked, hold it up like this and look down, you will see it curve right or left – like the very bottom of this piece curves left. It can make for uneven shelves so try and find as straight of a piece as you can.
A quick tip for anyone who doesn’t have or use a saw!
Ask an employee for help cutting your wood when you’re at your hardware store. I always go to Home Depot and they will cut whatever you want, I’ve never had a problem with it! There is a sign saying they charge over one cut or something like that, but I’ve never been charged so who knows lol. Make sure to have your measurements beforehand and they will do the hard work for you!
A little prep before staining
I gave each piece a good sand, and make sure to really sand the edges well to remove any wax covering the ends and to get the ink stamp off (or else the stain won’t absorb properly *see the pic above, that end piece is usually covered with a thick wax*). This is my first time using a wood conditioner before staining and I think I like it! I bought Miniwax pre-stain wood conditioner from Home Depot on clearance for $8 or something so I figured why not and try it out. The stain definitely went on smoother and didn’t have any uneven patches and the edges (which usually soak up stain like crazy) actually look really nice and smooth.
While that was drying, I spray painted some corner braces and my screws a matte black. These will be my brackets and they are a perfect dupe for really expensive ones you can buy. They cost a few dollars each. I found them in the same aisle as castors, screws, nails, etc. There are a ton of different sizes, I went with a 5″ bracket.
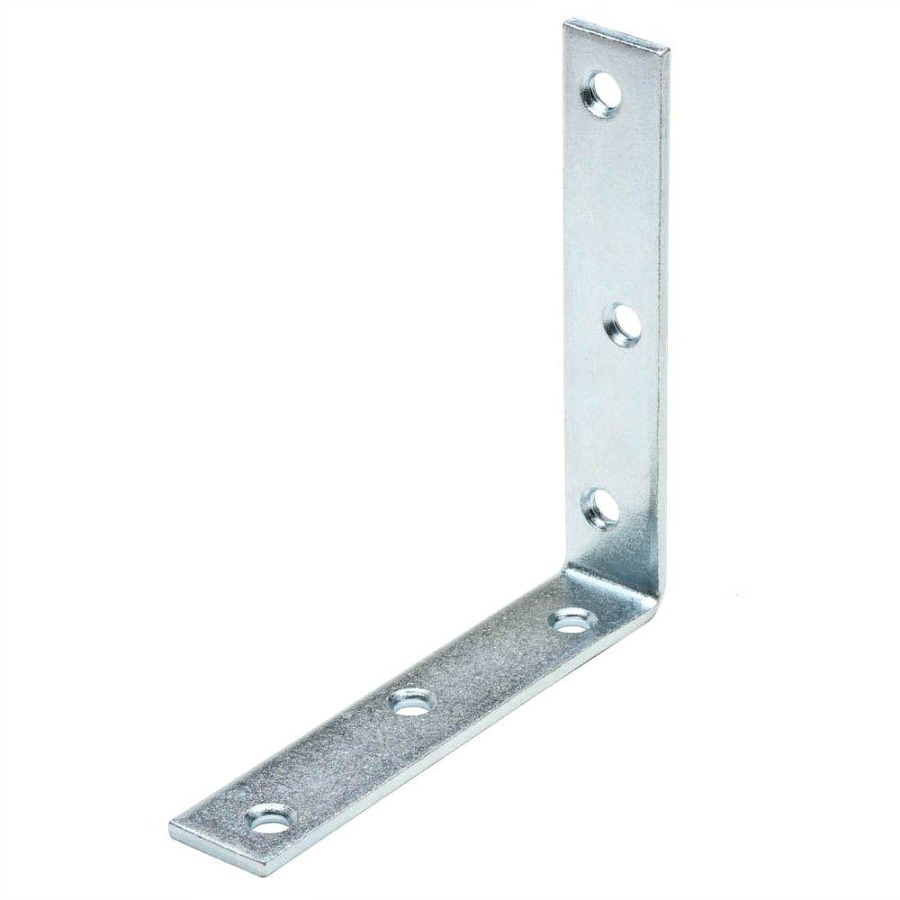
^^These are the brackets I used and I already had the screws, which I also spray painted a matte black to match.
Putting up the shelves, don’t forget this step!
Make sure to drill into studs (or at the very least, have one of your brackets drilled into studs and use a screw-in drywall anchor on the other bracket). These are the only anchors I use anymore – they’re an ez-screw drywall anchor: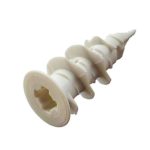
Mark where you want to put your brackets, and if it is studs, make sure to drill a small pilot hole first. This helps make things easier when putting in your screws. (I could only get one bracket into a stud, which is why the brackets are a little closer together that I would like, but I highly recommend having that support with a shelf or anything that will be used frequently. Then you know it will be secure and not start to sag or detach from the wall.) Then attach your shelf to the brackets with some small screws and stand back and admire your work! 🙂
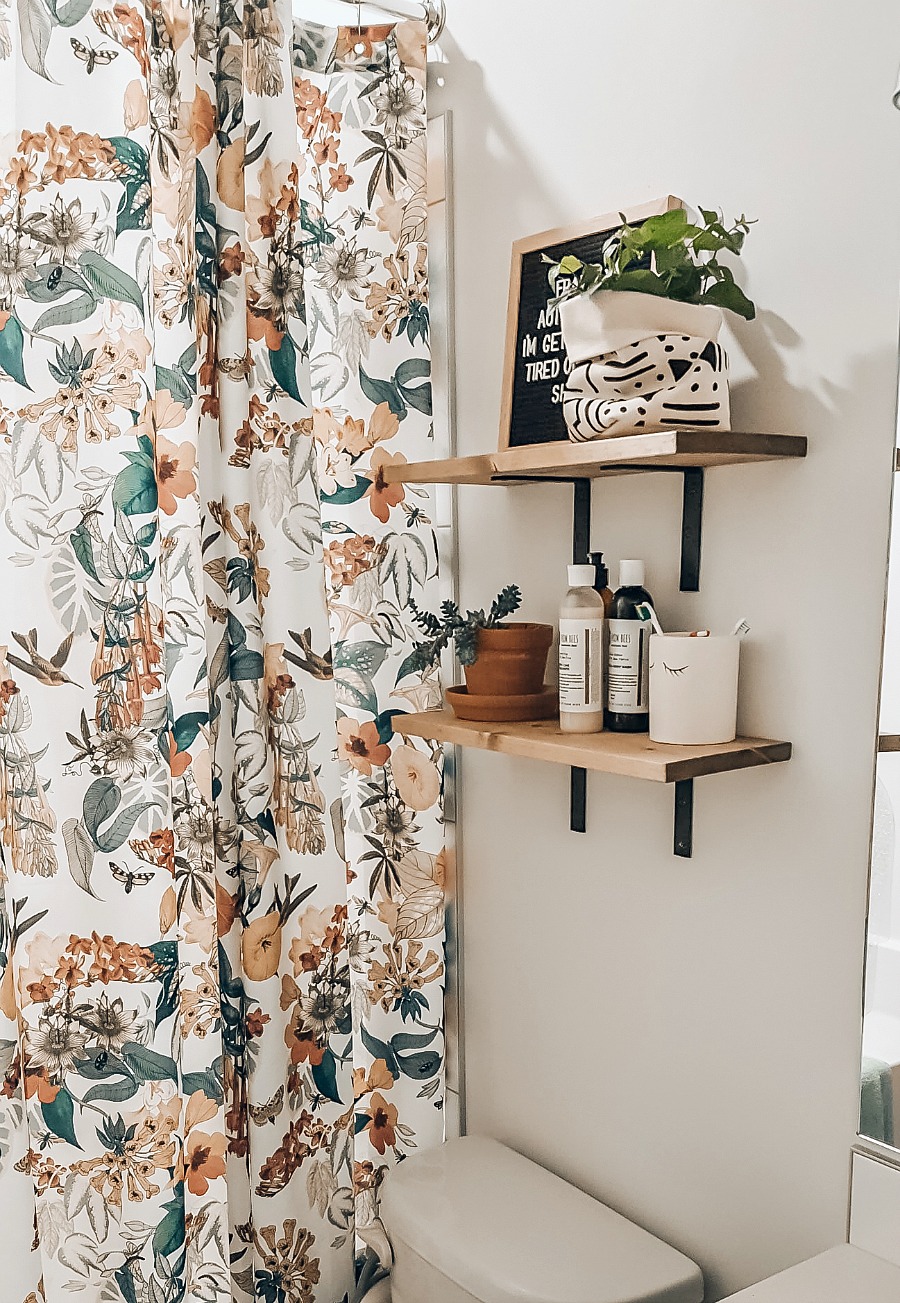
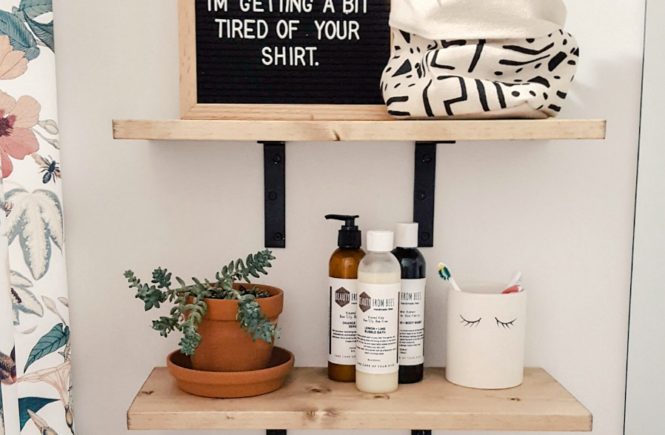
My favourite part now, is decorating the shelves! I love a mix of function and style, so some of the kid’s bath products, cute baskets and a fun letterboard – this was an old quote from a pic I shared on my Instagram, these boards take forever to lay out a message so it ends up staying the same for so long LOL.
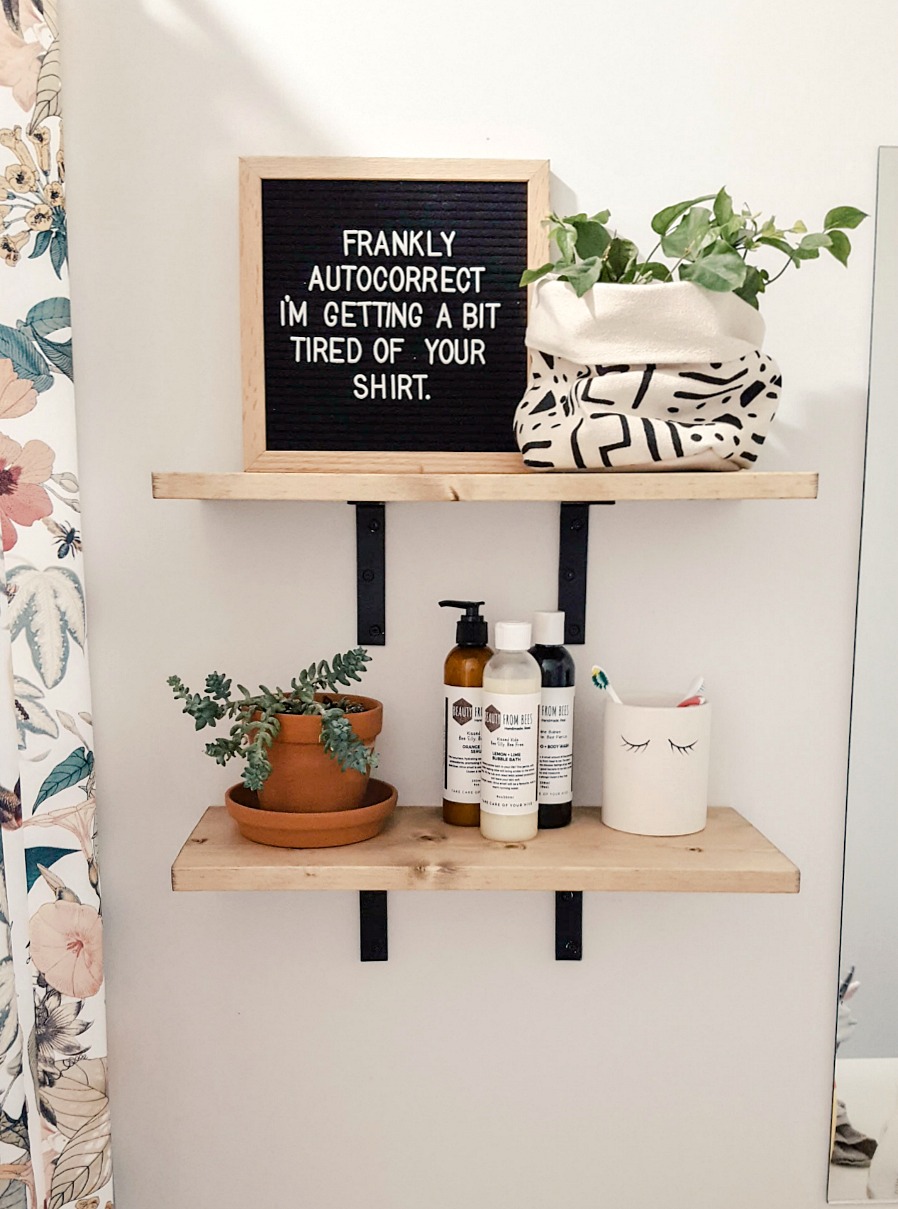
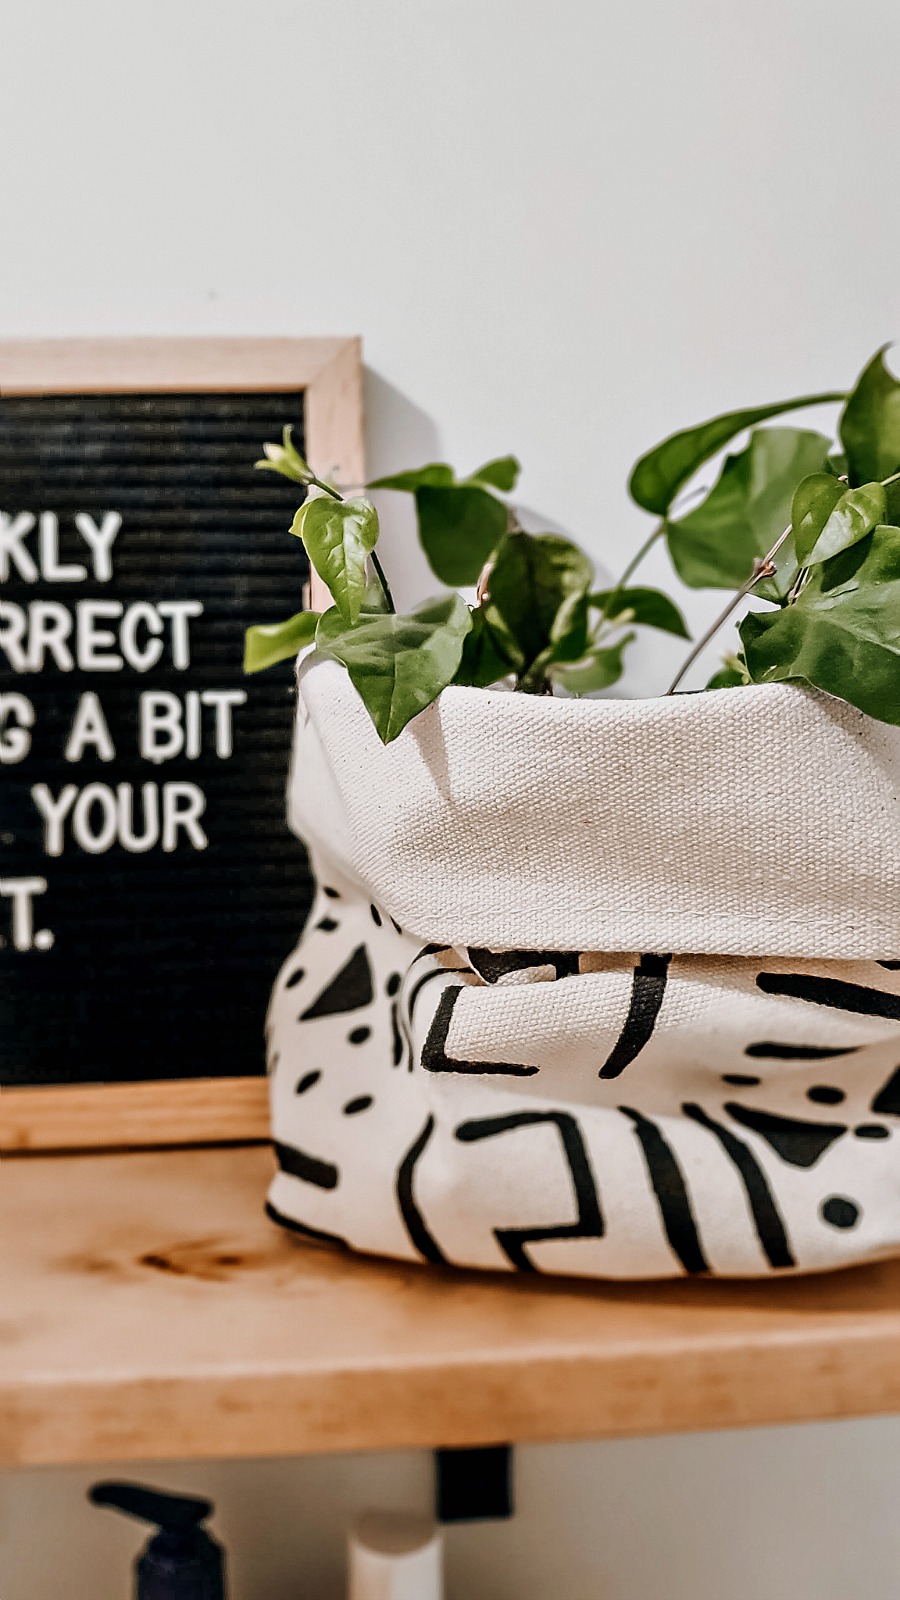
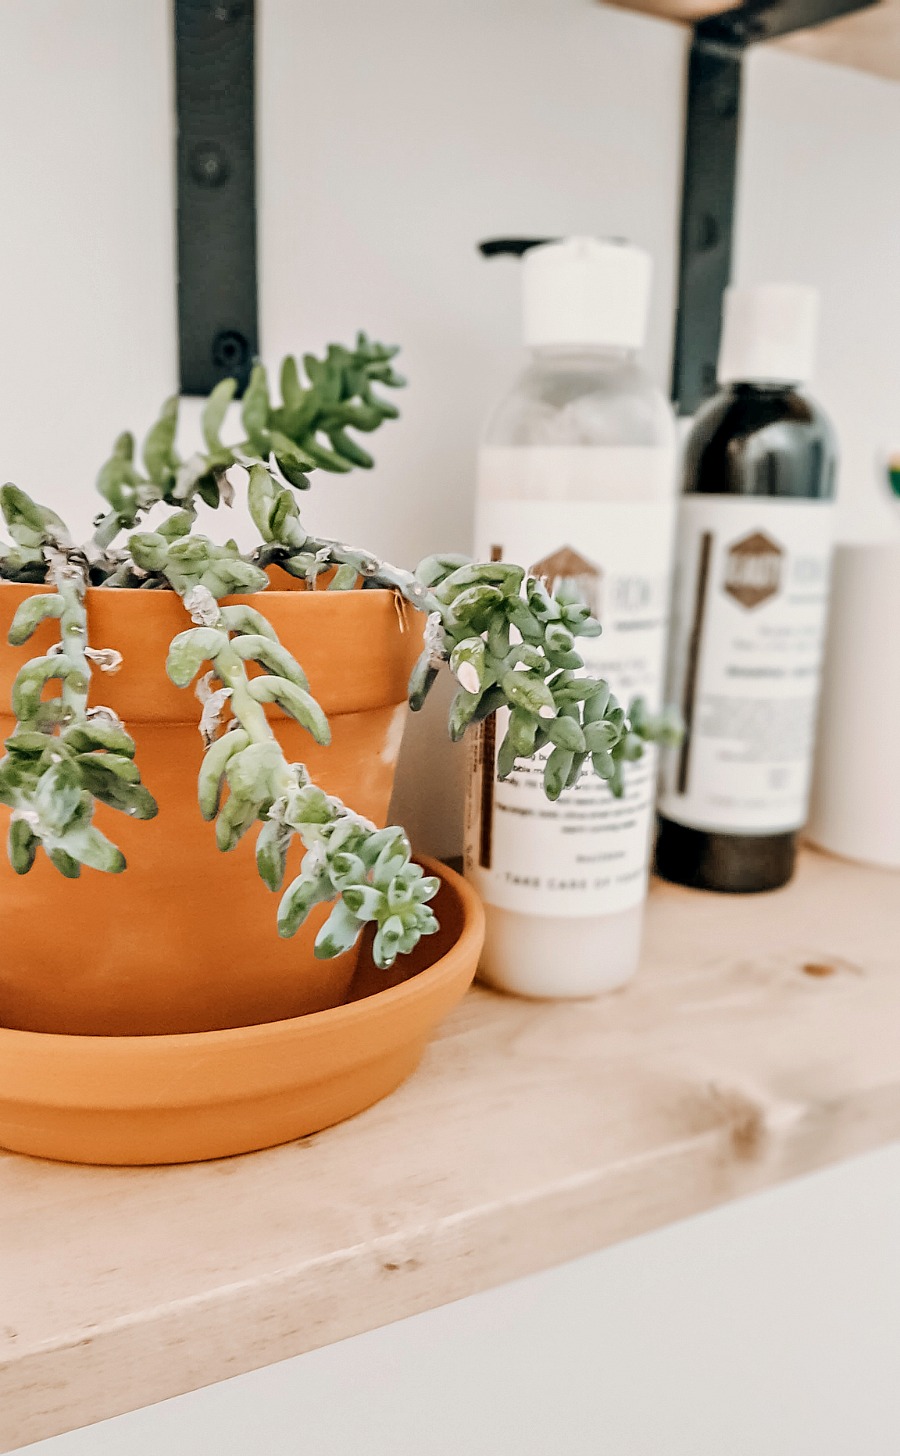

Have you made shelves before? You’ll be surprised at how easy it is to DIY your own shelves plus it is so inexpensive to do so! Tag me in your DIYs on Instagram and I’ll share them in my stories!
Have a great day xx

